• Home
  • About

julia chews the fat

julia chews the fat

Monthly Archives: February 2012

Sausage factory

28 Tuesday Feb 2012

Posted by julia chews the fat in Cooking with Nonna, The Basics

≈ 3 Comments

The other day, at 8:53 am, my mother calls me: “We’re making sausages tonight, you want in?”

Some people might shudder at the thought of spending their leisure time squeezing 15 lbs of pork meat into intestine casings. It’s not exactly something for the faint of heart. In part because you’re handling pounds of raw pork, intestines and a heavy-duty meat grinder, but also because someone will inevitably comment on how the much the act of strapping a wet casing onto a nozzle and filling it with meat resembles the use of a common prophylactic. In my case, TWO people felt at liberty to make this assertion. And before you call me a prude – did I mention we were doing this as a family?

One other caveat: since each intestine is blown into before it gets rolled onto the nozzle of the meat grinder, you’d better have someone who isn’t afraid to get up close and personal with pig intestine and nominate them as “casings-blower” (by the way, I’m almost certain that modern recipes skip this step, but it makes for an amusing bit of comic relief in a process that is pretty intense. Don’t be surprised if you are overcome with the urge to ask the casings-blower to make you a balloon poodle).

So why on earth would we put ourselves through something that sounds so unpleasant? Well, first, I should mention that we generally buy sausages from the butcher. But even the best butchers in town sometimes mix additives into their meat. The man behind the counter may look the part – authentically rotund, red-cheeked, moustached – but the fact is that they will most likely put preservatives in their meat to extend the shelf life of their product.  Since the word “nitrate” is no less disconcerting than the words “Aspartame” and “diglyceride”, I feel that any chance you can make something from scratch (with ingredients your grandma would use) is worth a shot.

***

A note on botulism: while it is understandable that you would avoid sausage-making for fear of killing your loved ones, fret not. As long as your implements are extremely clean and that you keep the meat chilled, you shouldn’t have to worry about contaminating anyone. In fact, in the 50 + years that our family has made sausage, we have never heard of anyone getting sick – and it’s not because we have magical immune systems. If you think about it, the foods that generally make us ill are the ones that have been processed in a plant somewhere miles from our home. In fact, the last few food-poisoning stories I’ve heard involved pre-packaged, highly processed foods. I promise not to get on my soap box – just a point to consider.

So, dear reader, I ask you to trust me and to trust yourself in this process. If you’re willing to take on this project, make sure to have a few people on board – it makes everything go much smoother and ultimately, makes for better stories.

Sausages (fennel, paprika and salt & pepper)

  • Two large pork loins (about 5lbs total)
  • Boneless pork chops (about 10 lbs; cut an inch thick)
  • 1 package of casings (from the butcher)
  • Twine
  • Meat grinder
  • 2-3 committed people

Seasonings (to be divided amongst 3 batches of meat):

  • 2 tbsp fennel (anise) seeds
  • 2 tbsp paprika
  • 2 tbsp each of salt & pepper
  • Extra salt for the fennel & paprika sausages

Directions

1) Soak the casings in cold water to soften them (the butcher will have packed them in salt).

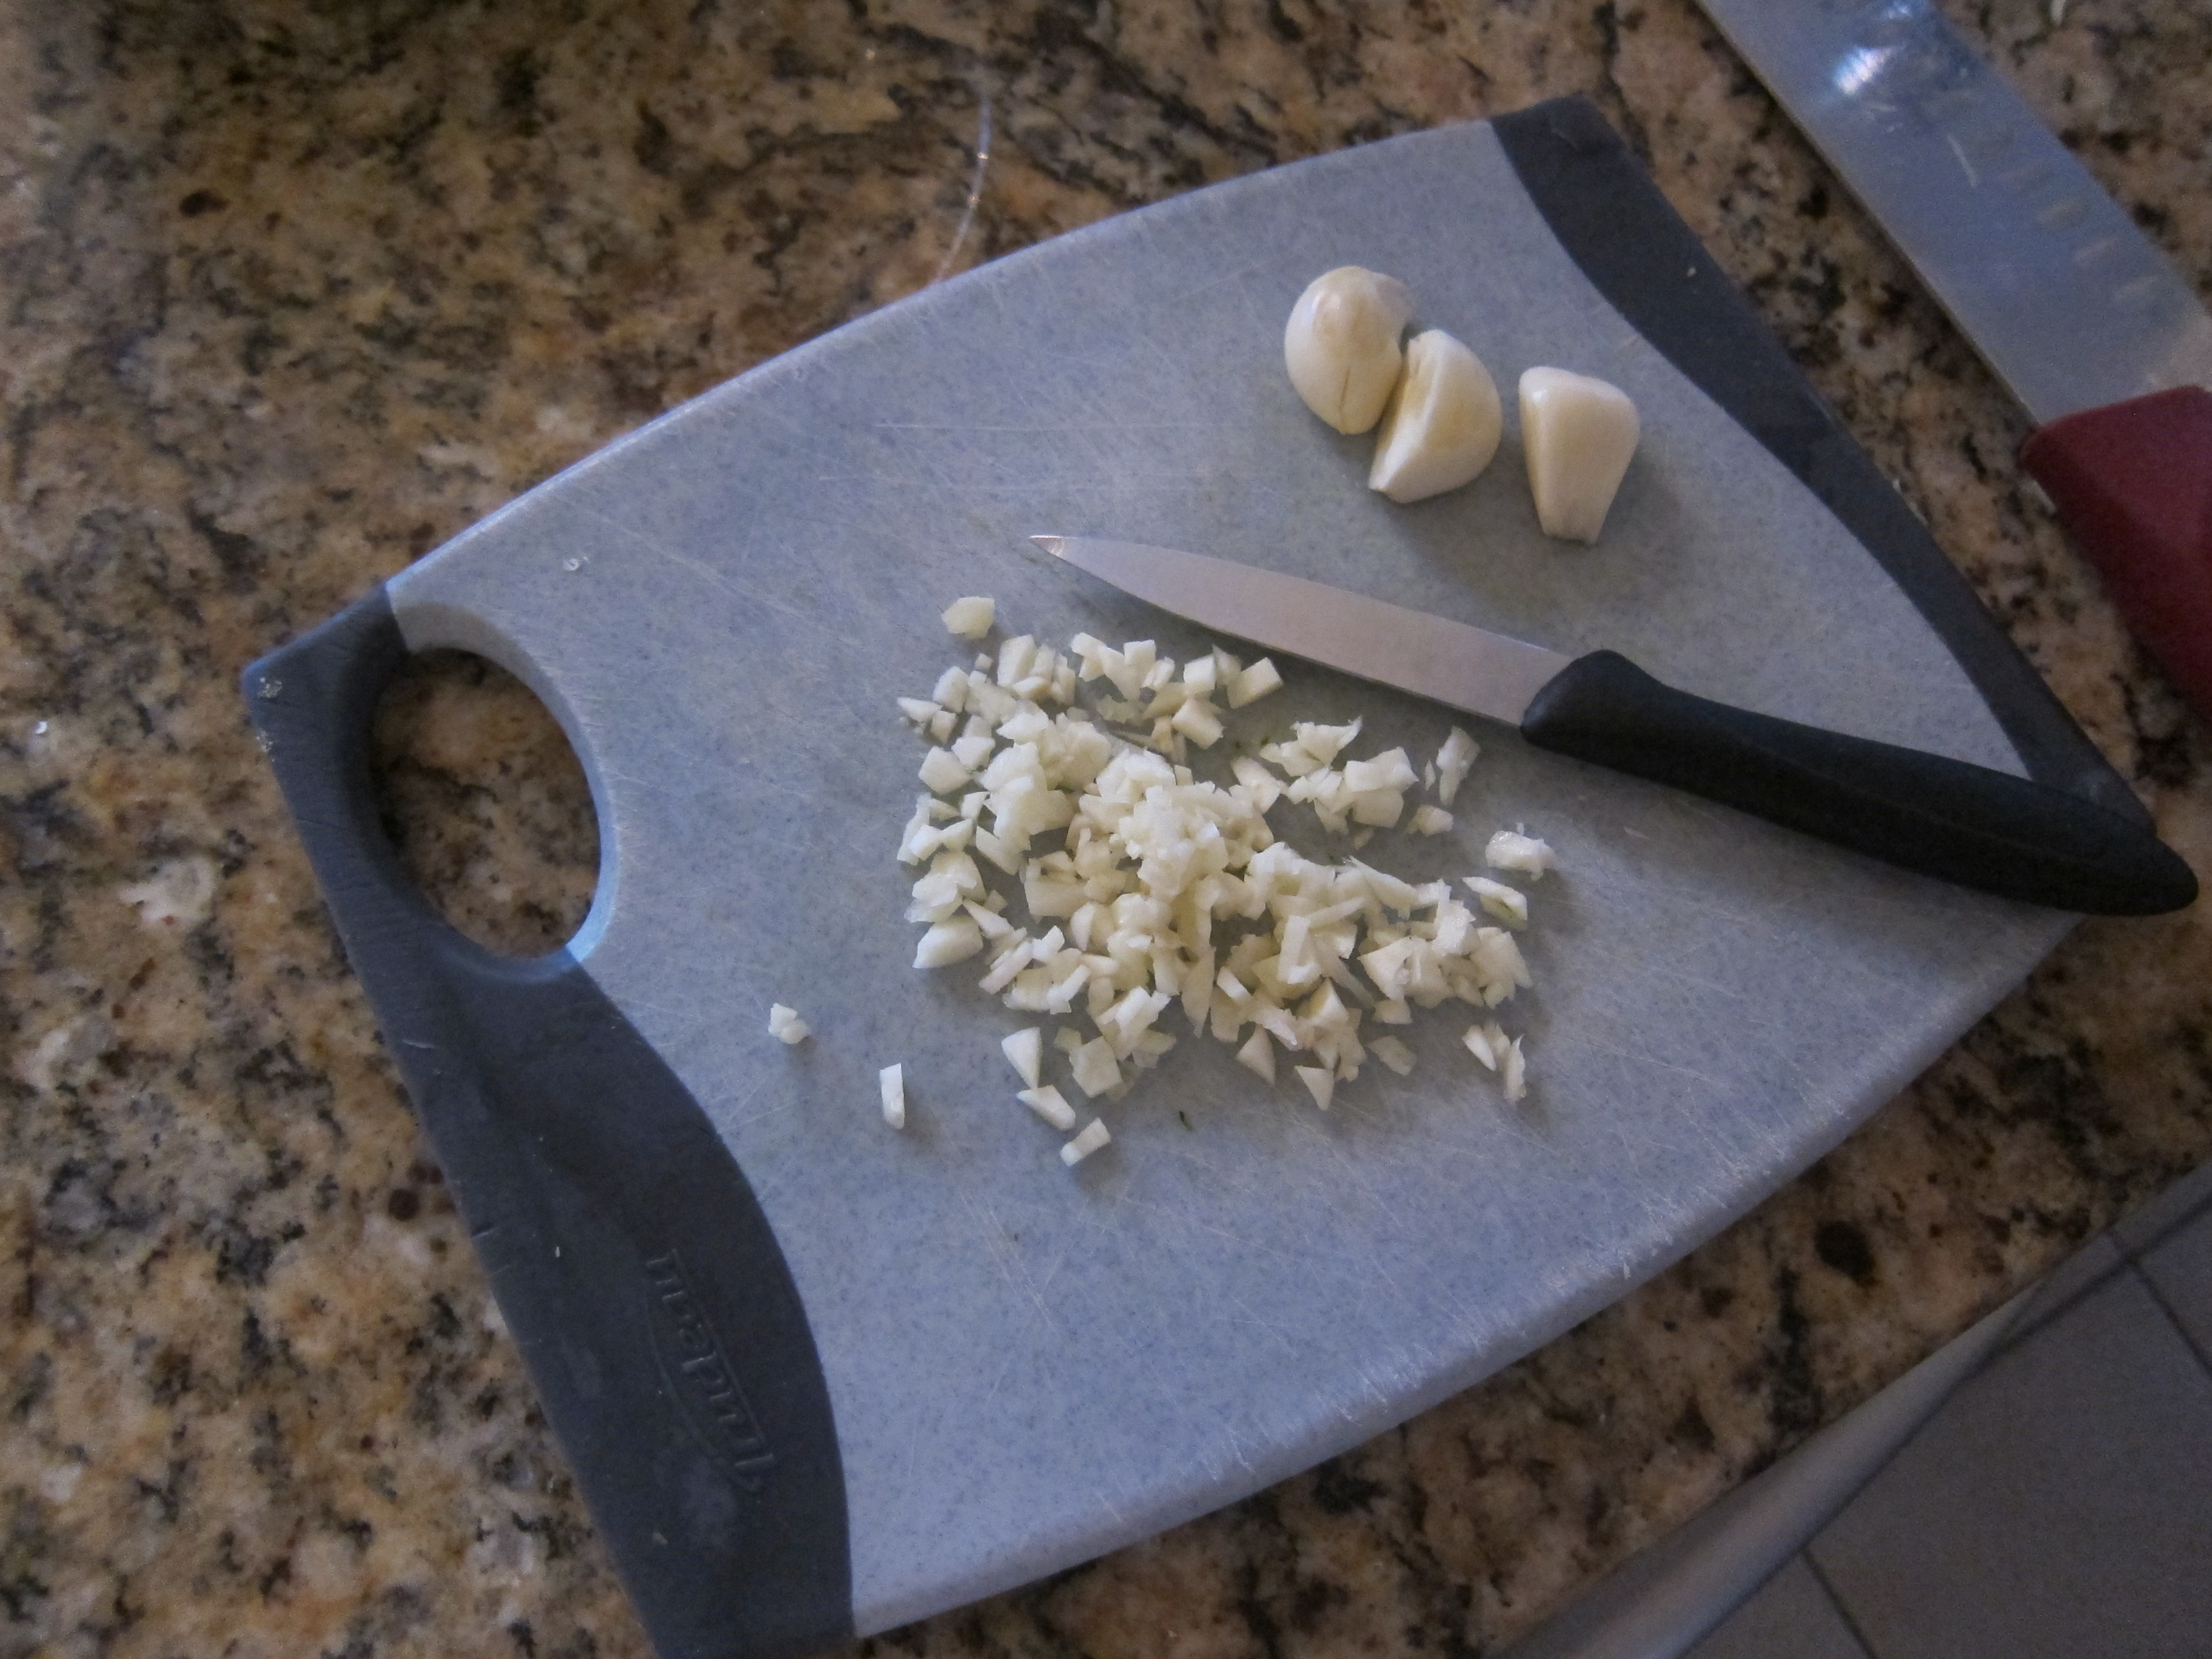
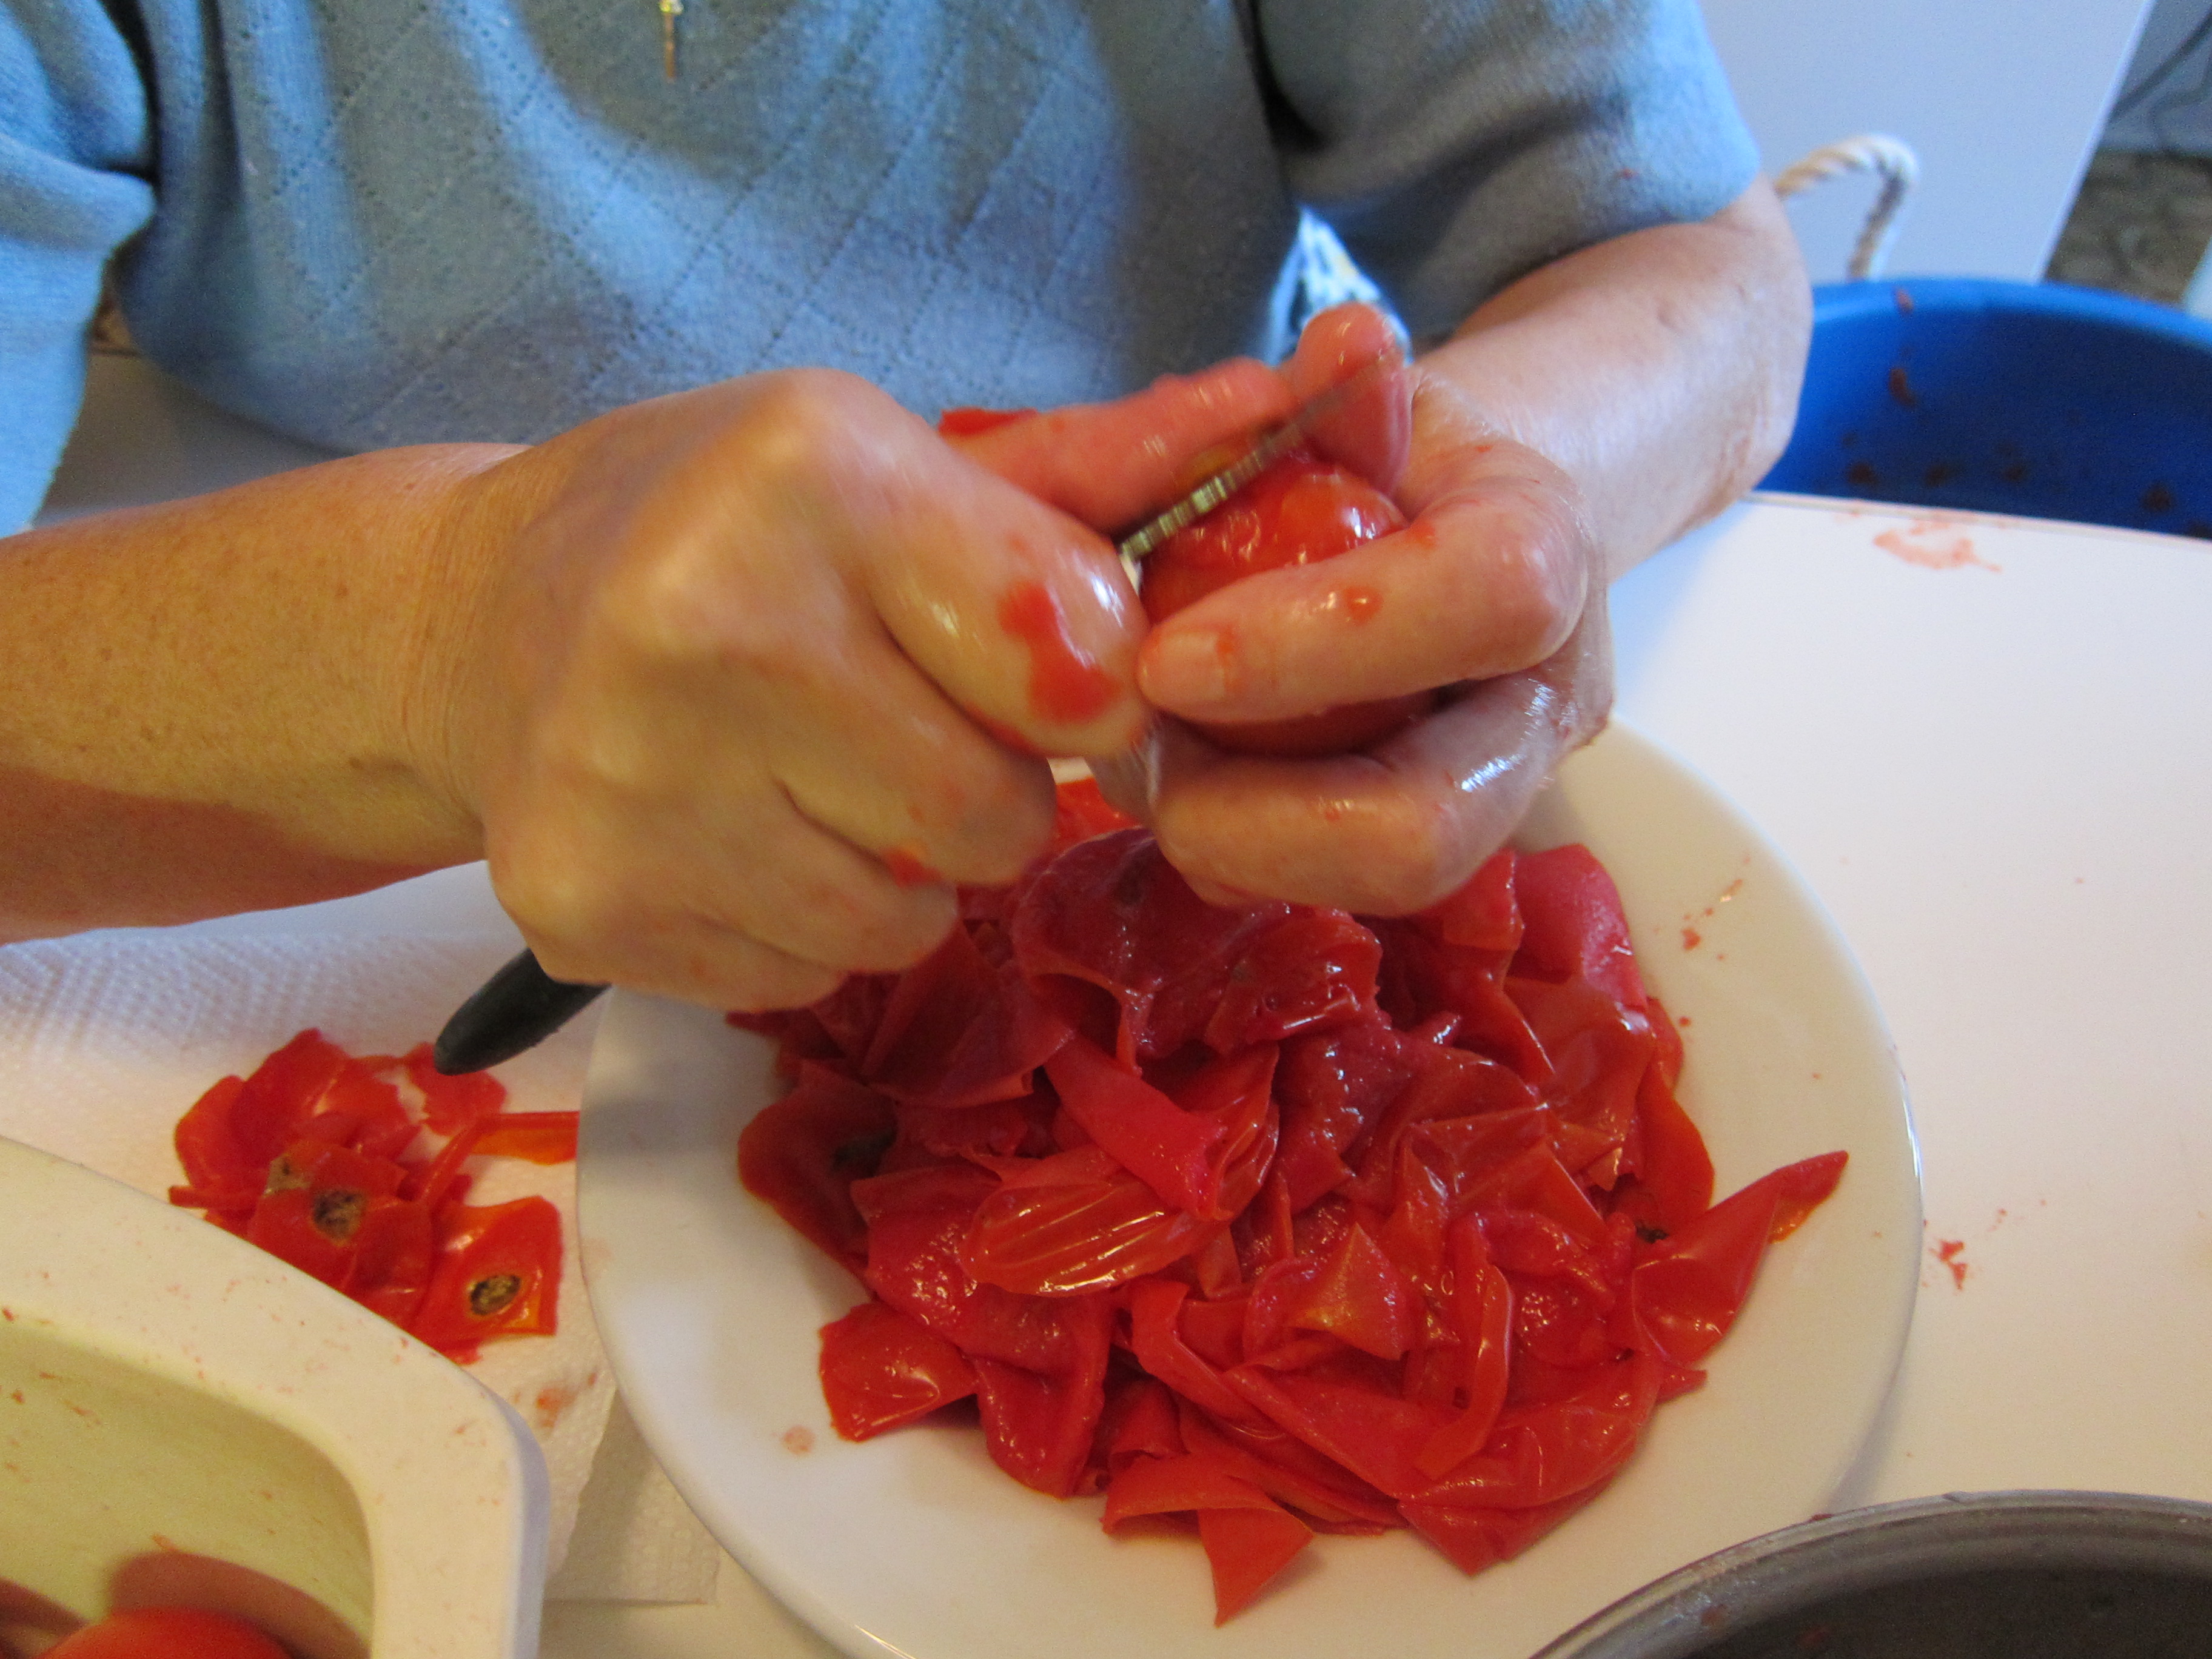
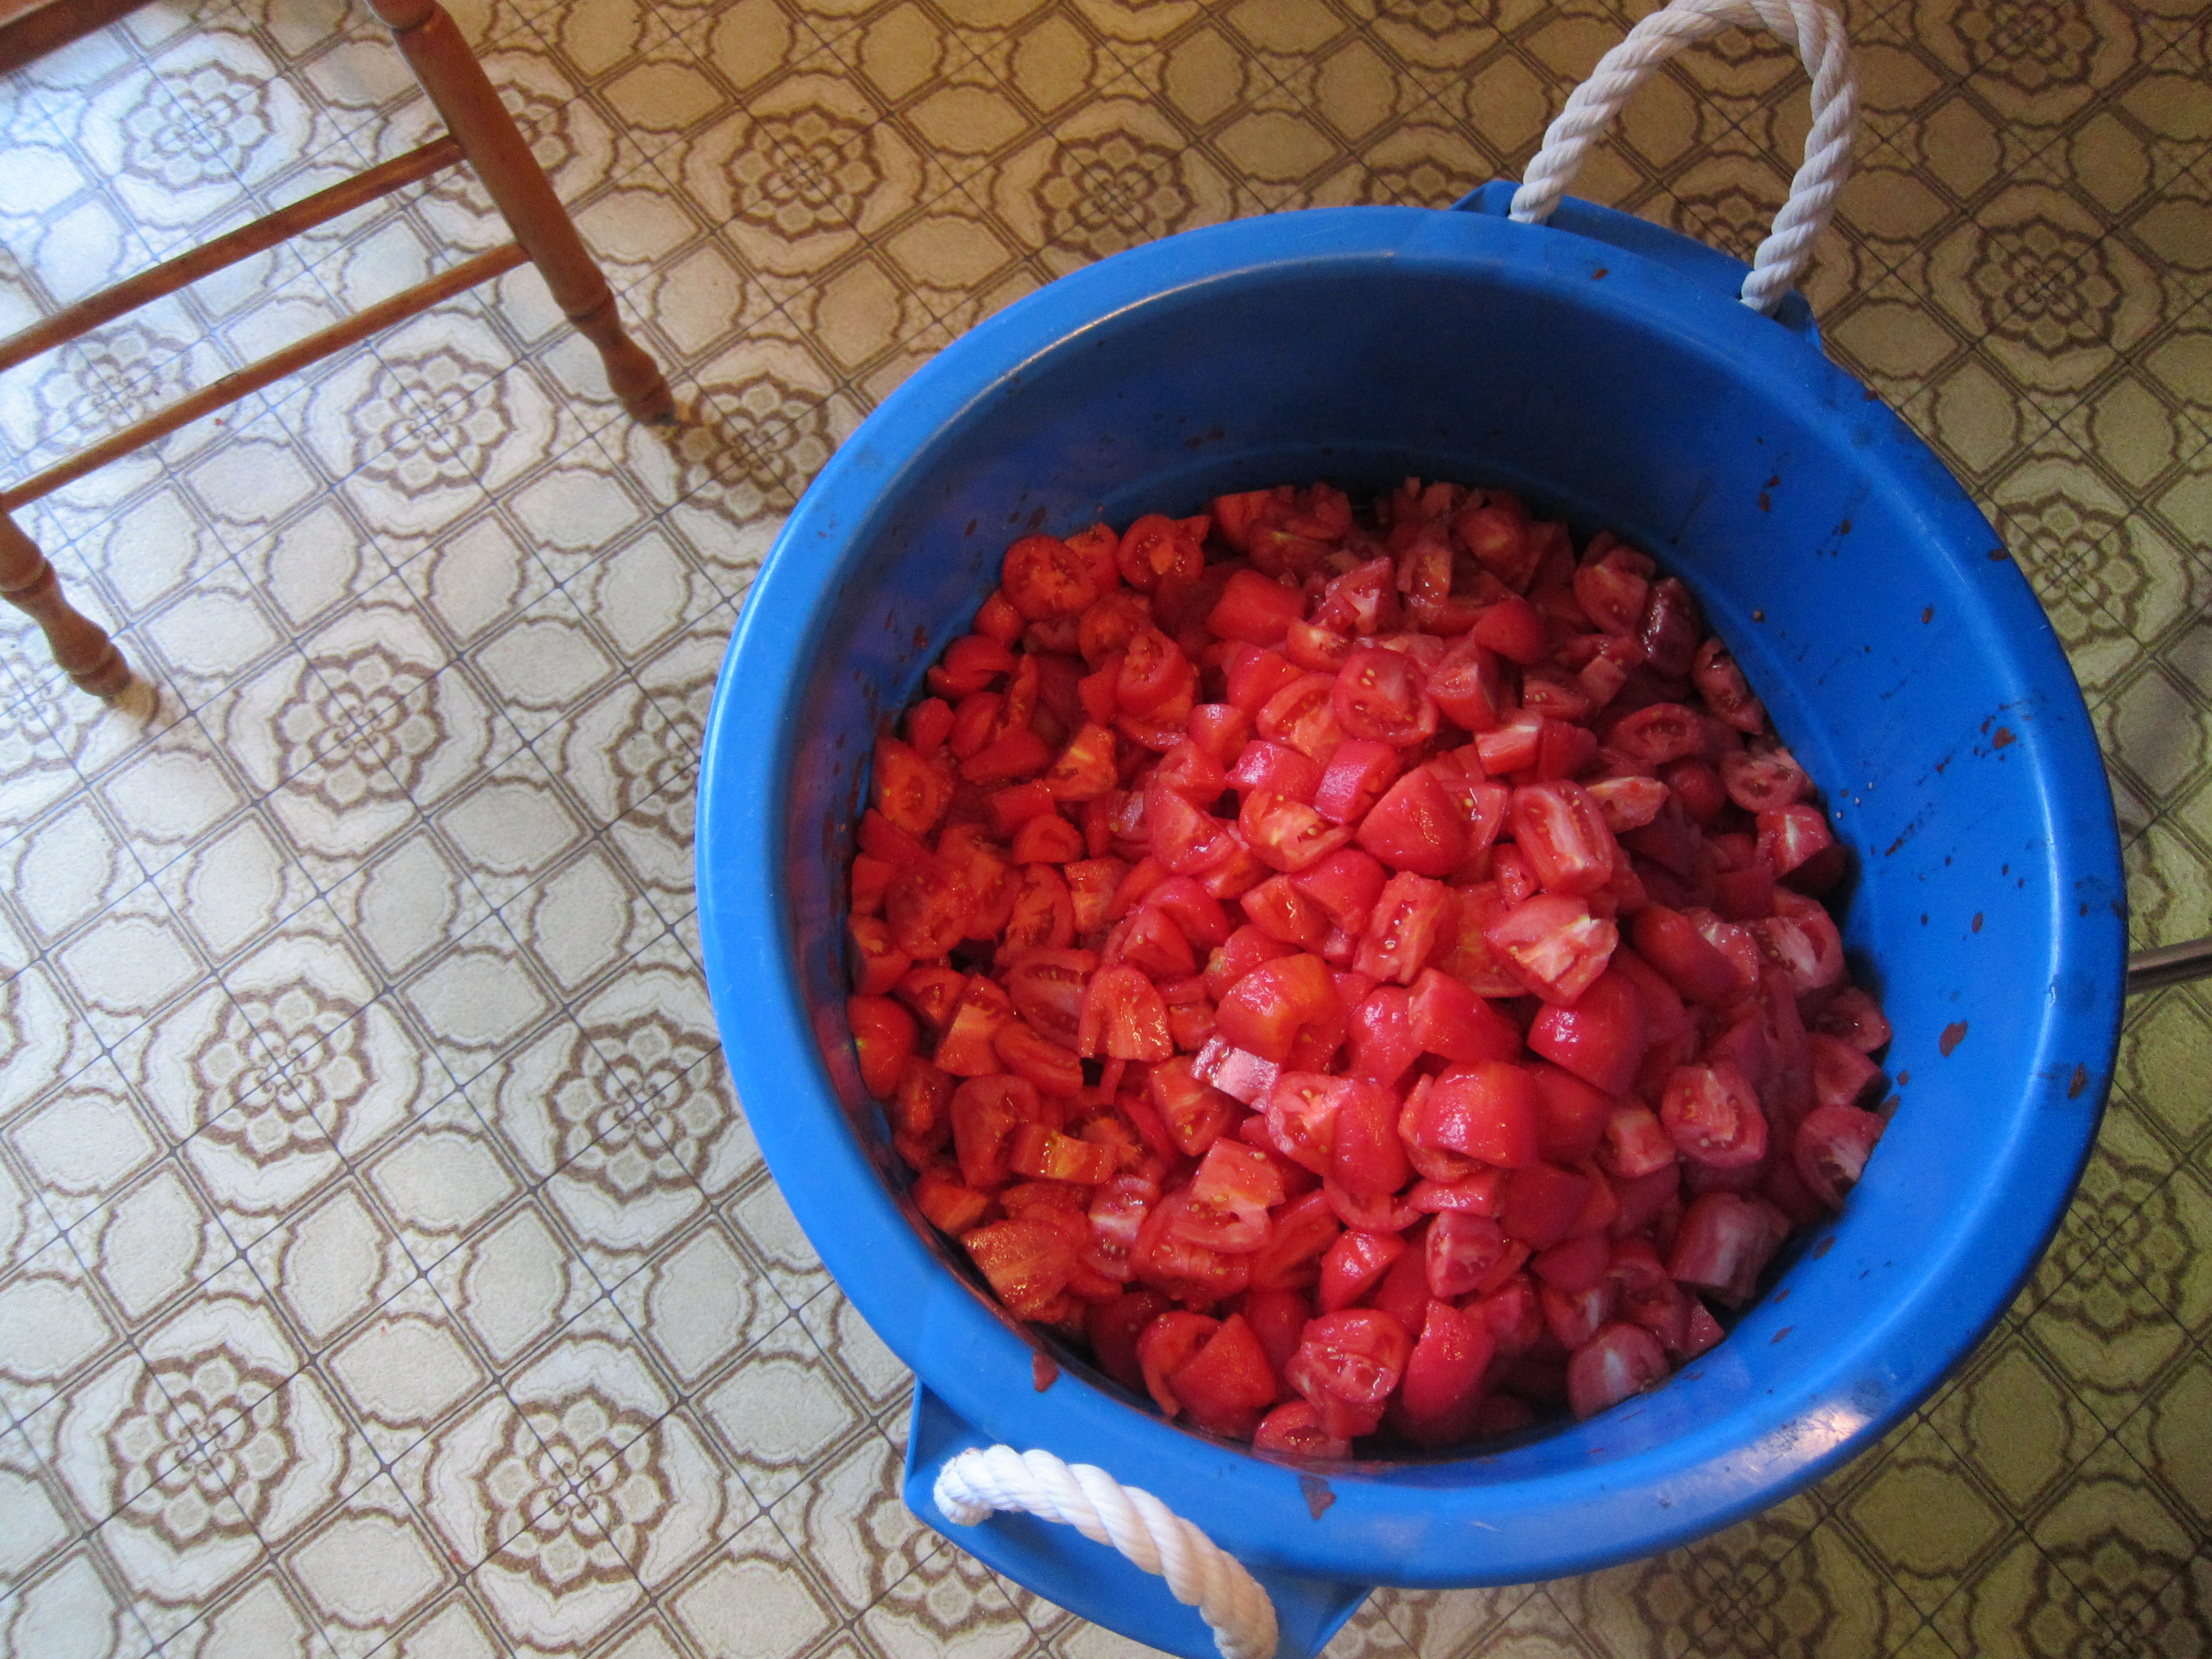
2) Remove connective tissue from the meat, cut it up fairly small, and chill it.

3) Meanwhile, have someone rinse each casing three times in cold, running water. This step will remind you of the water-balloon days of your youth; admittedly, the activity of filling casings with water is far less thrilling.

4) Grind the meat in batches, alternating fattier pieces with leaner ones to evenly distribute the fat. Place a cookie sheet under the grinder to collect the meat. It’s important to make sure you’re turning the crank and pushing the meat through the top of the grinder at a consistent, steady pace. Failing to do so will invite comments from the more seasoned sausage-makers in the room.

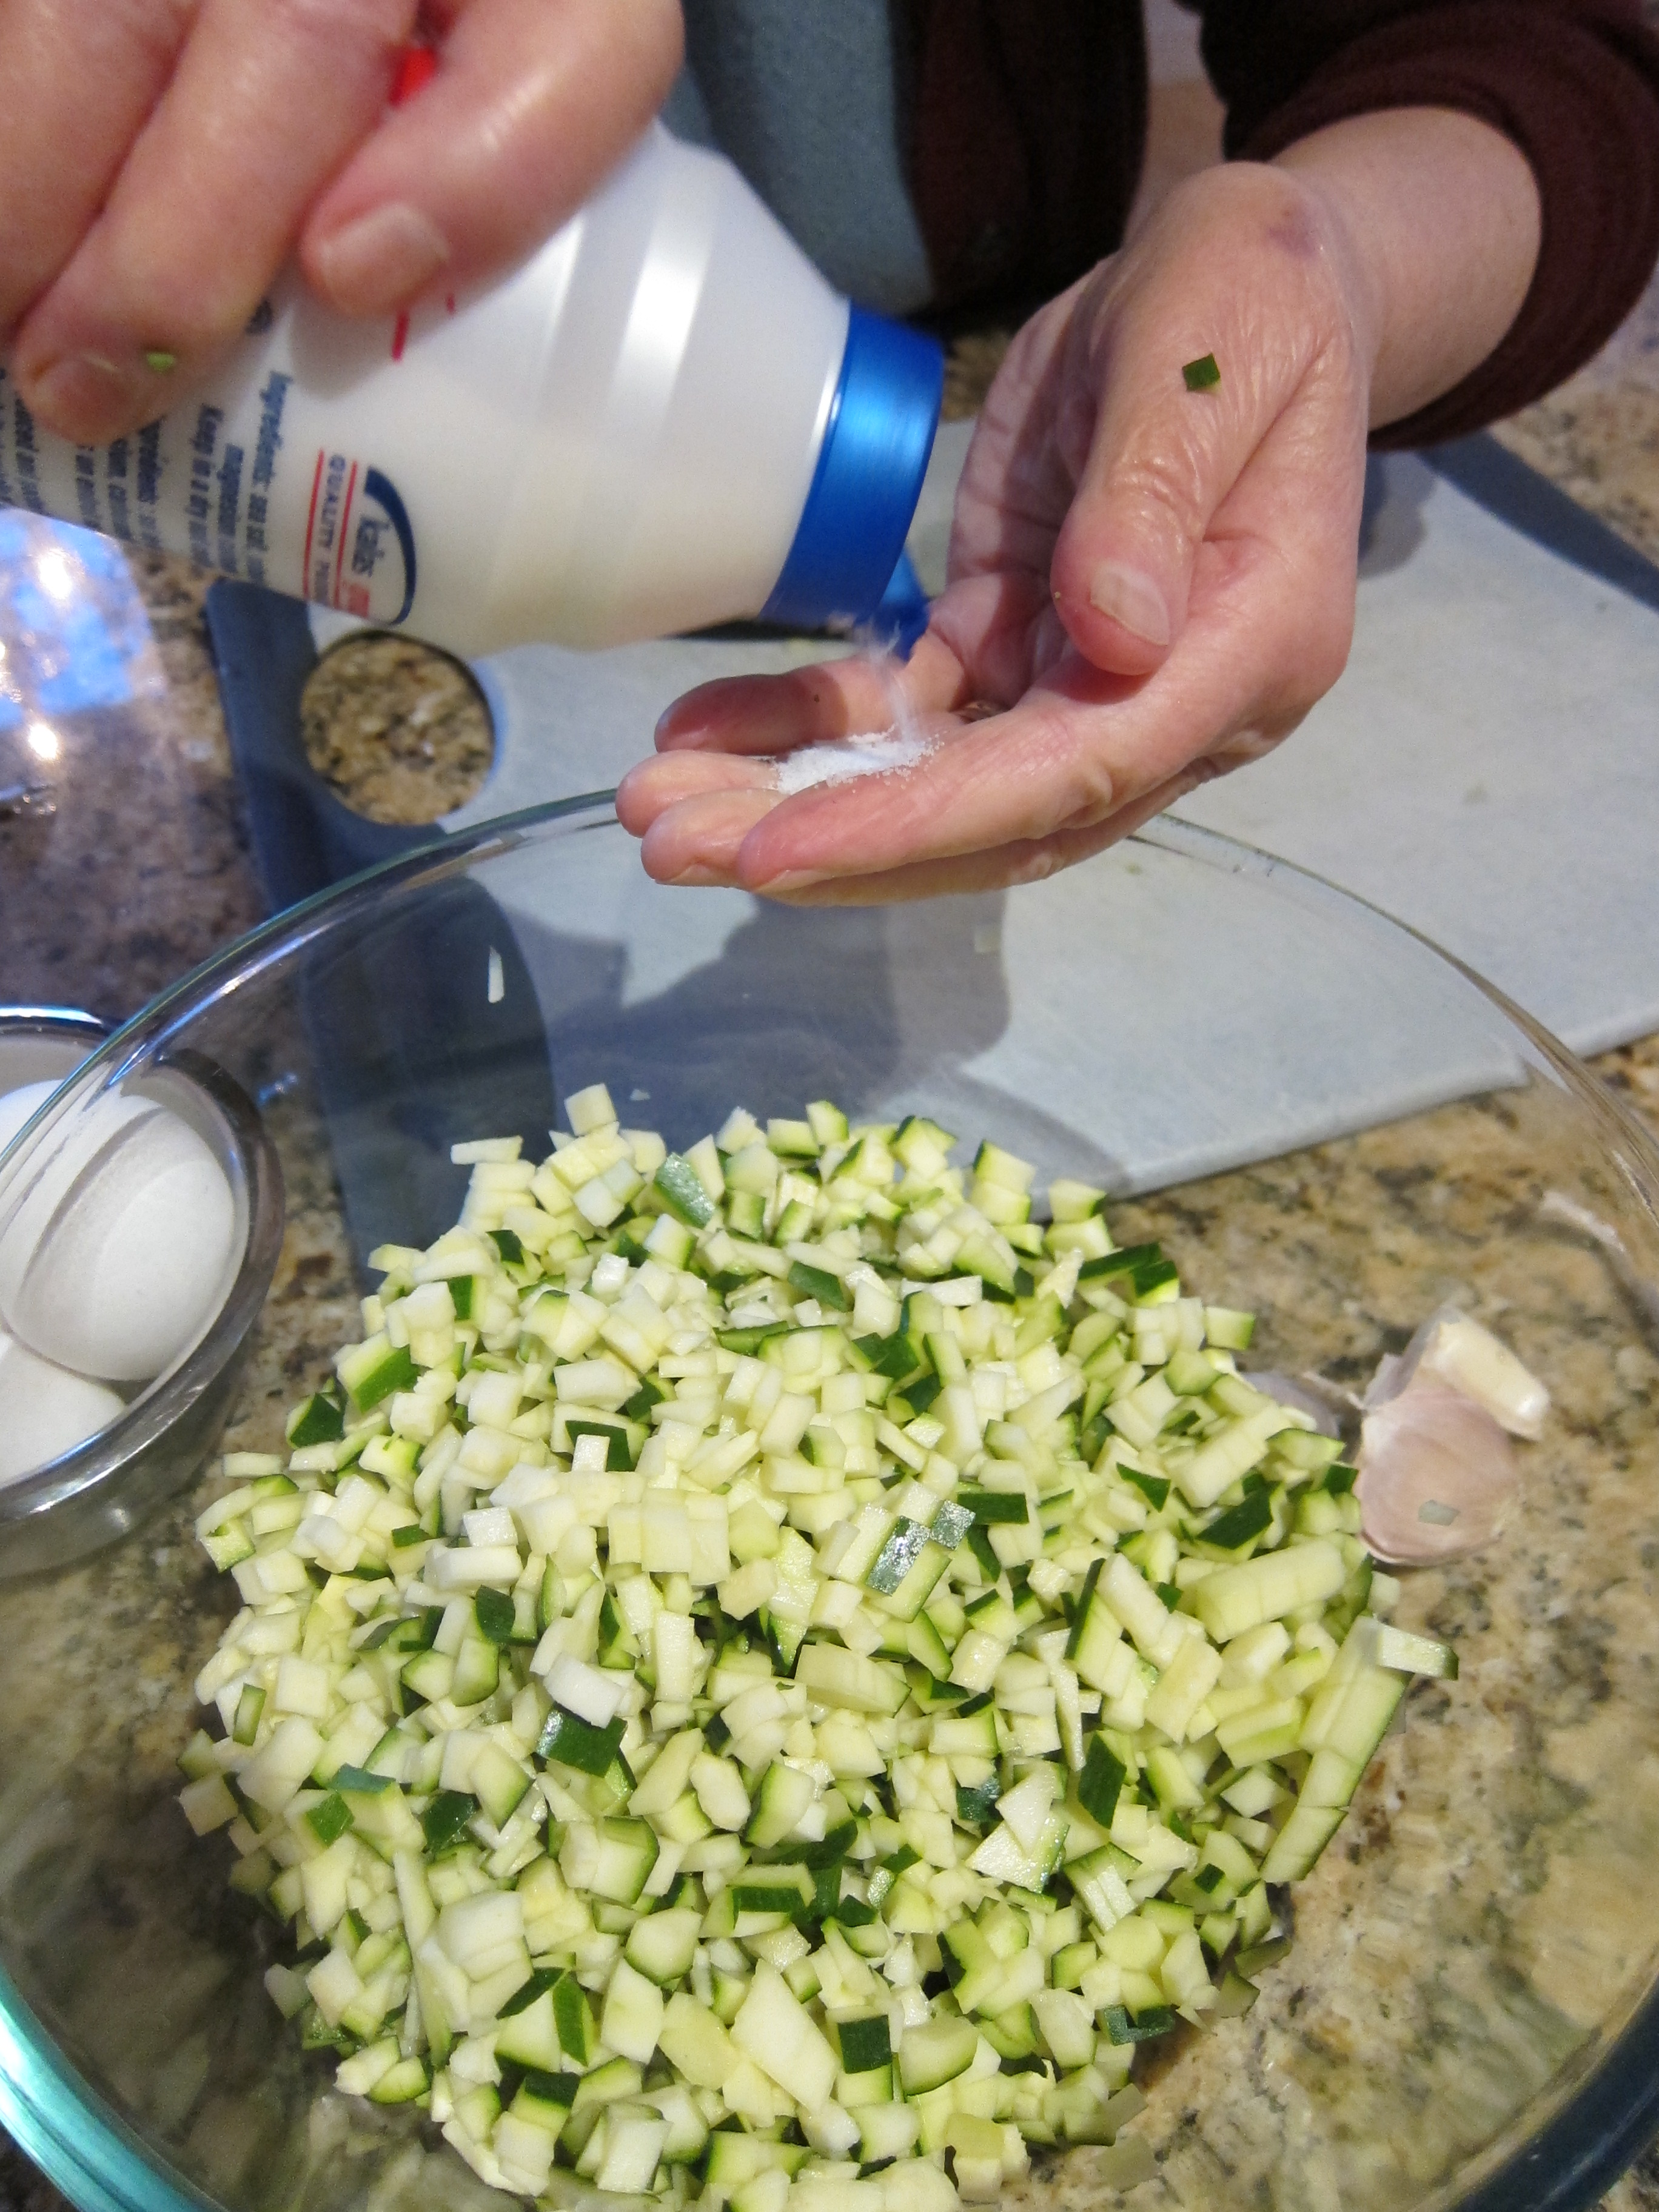
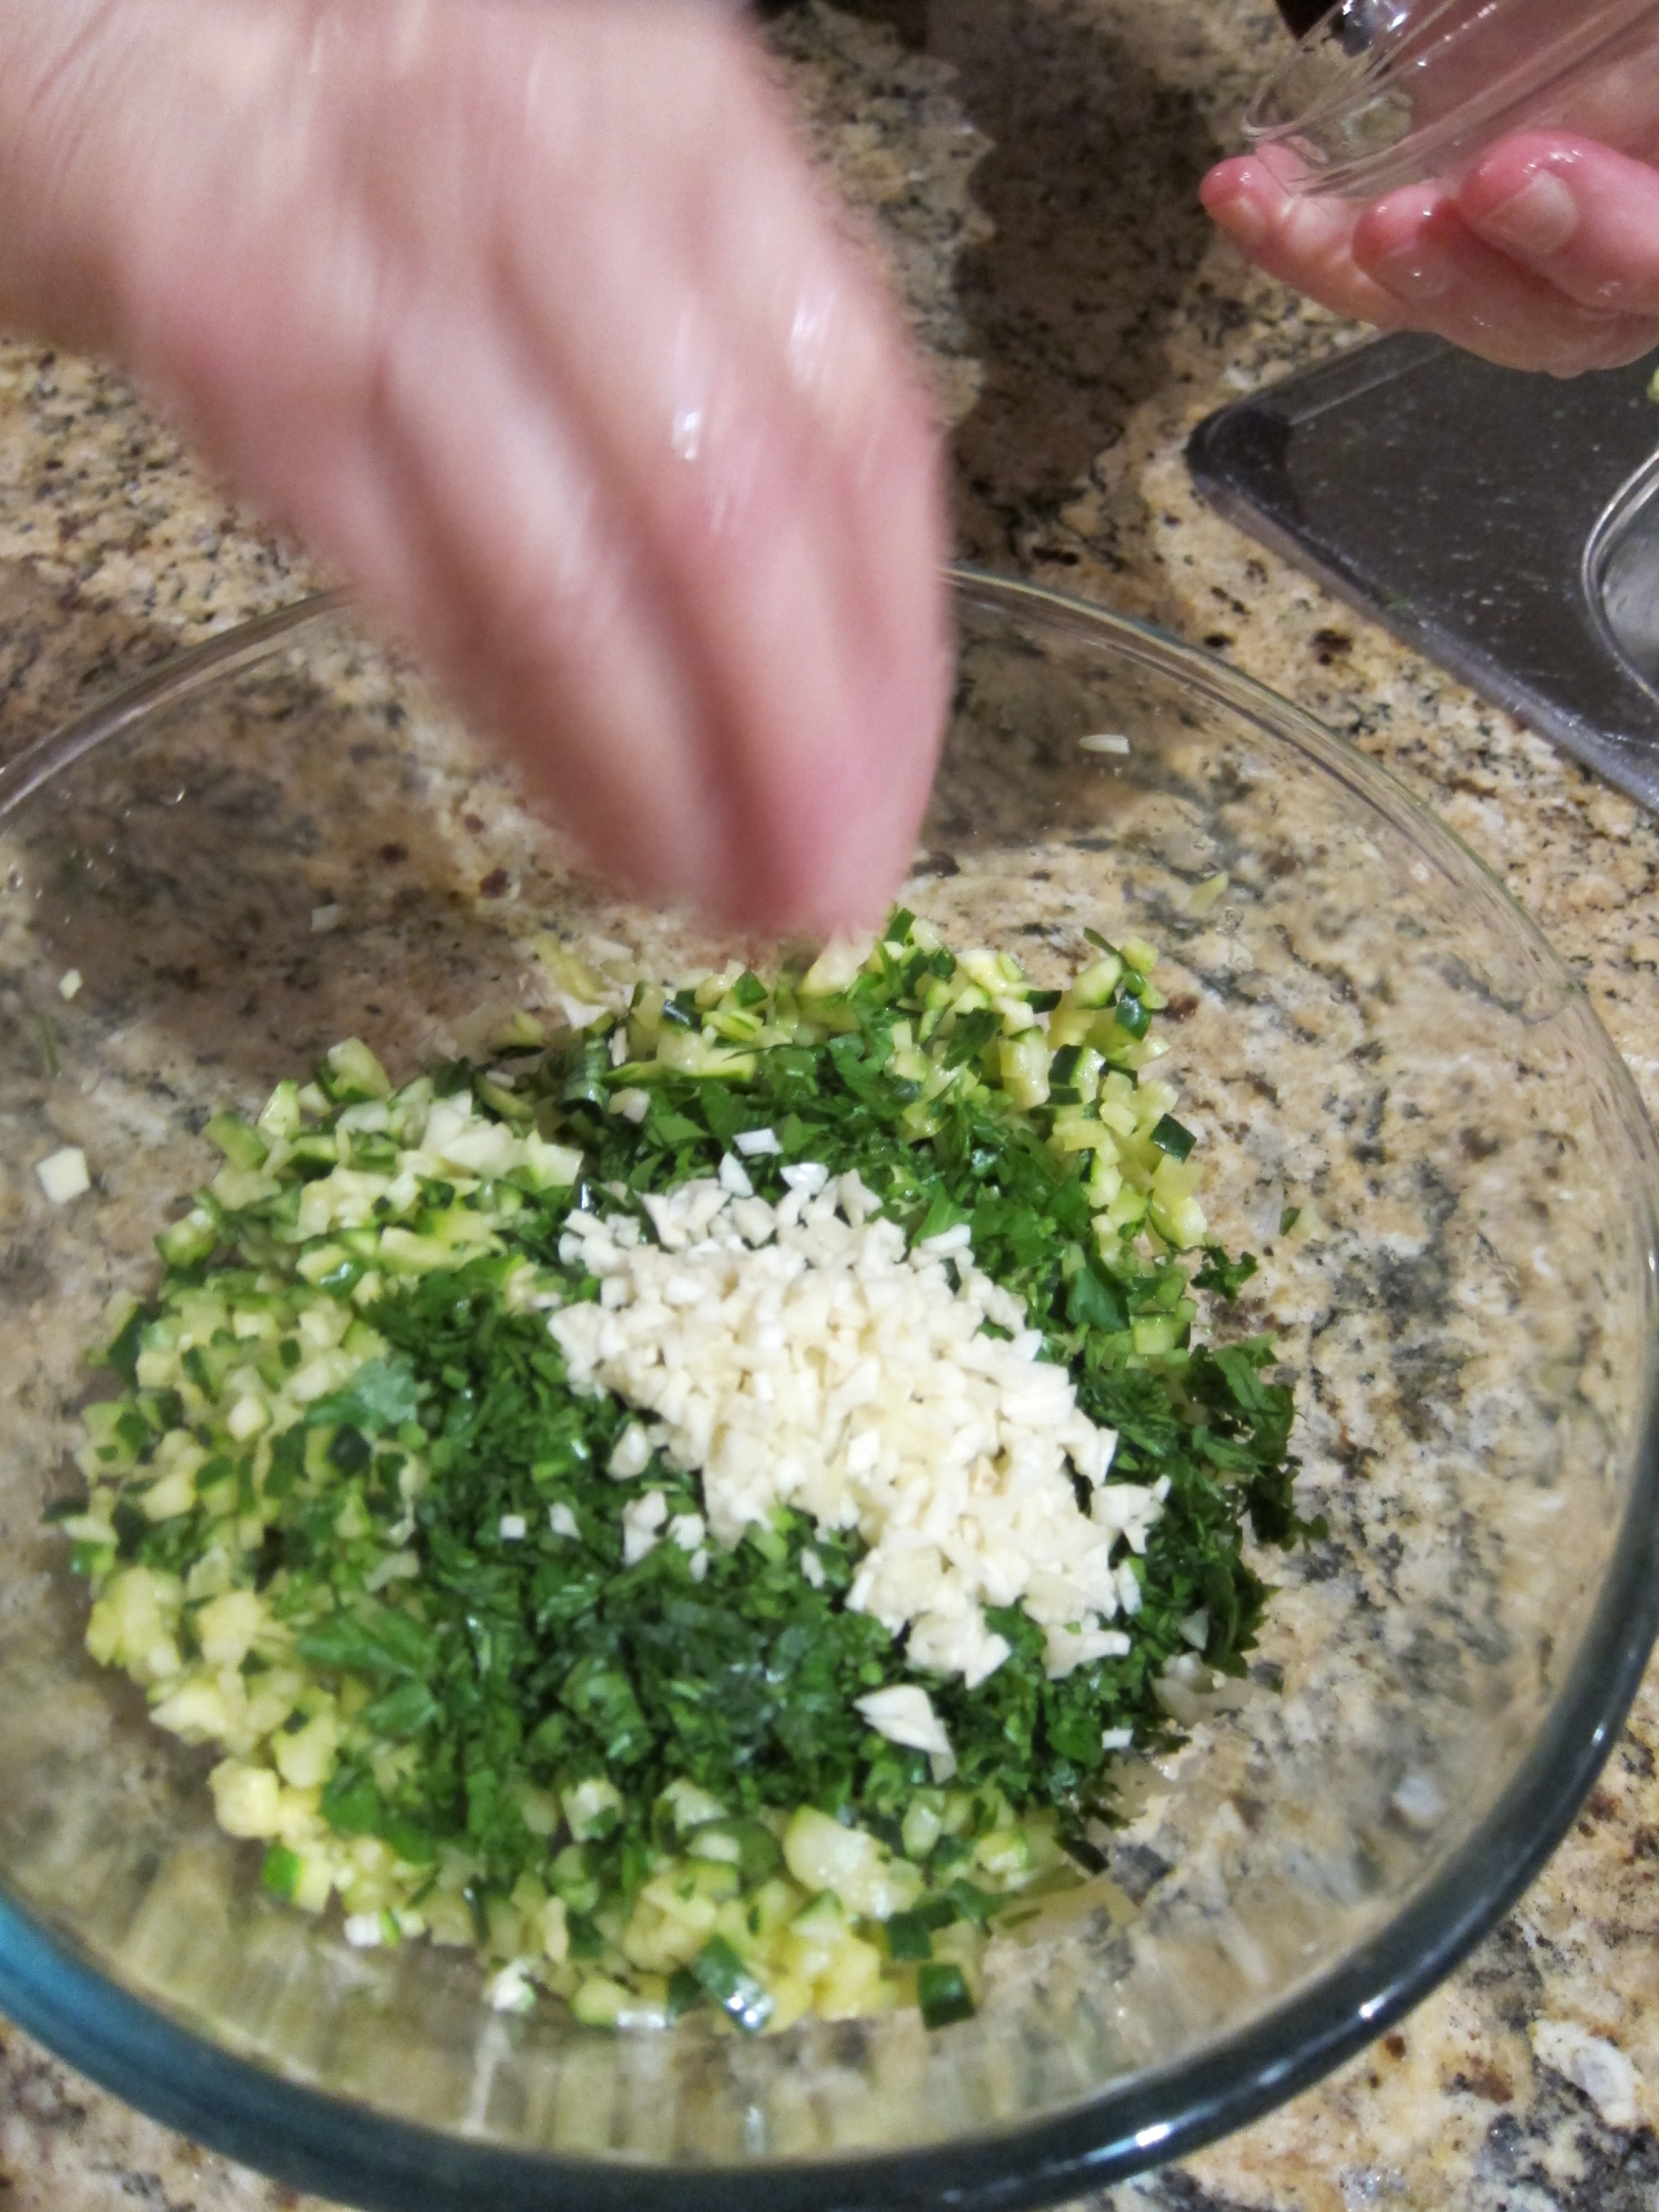
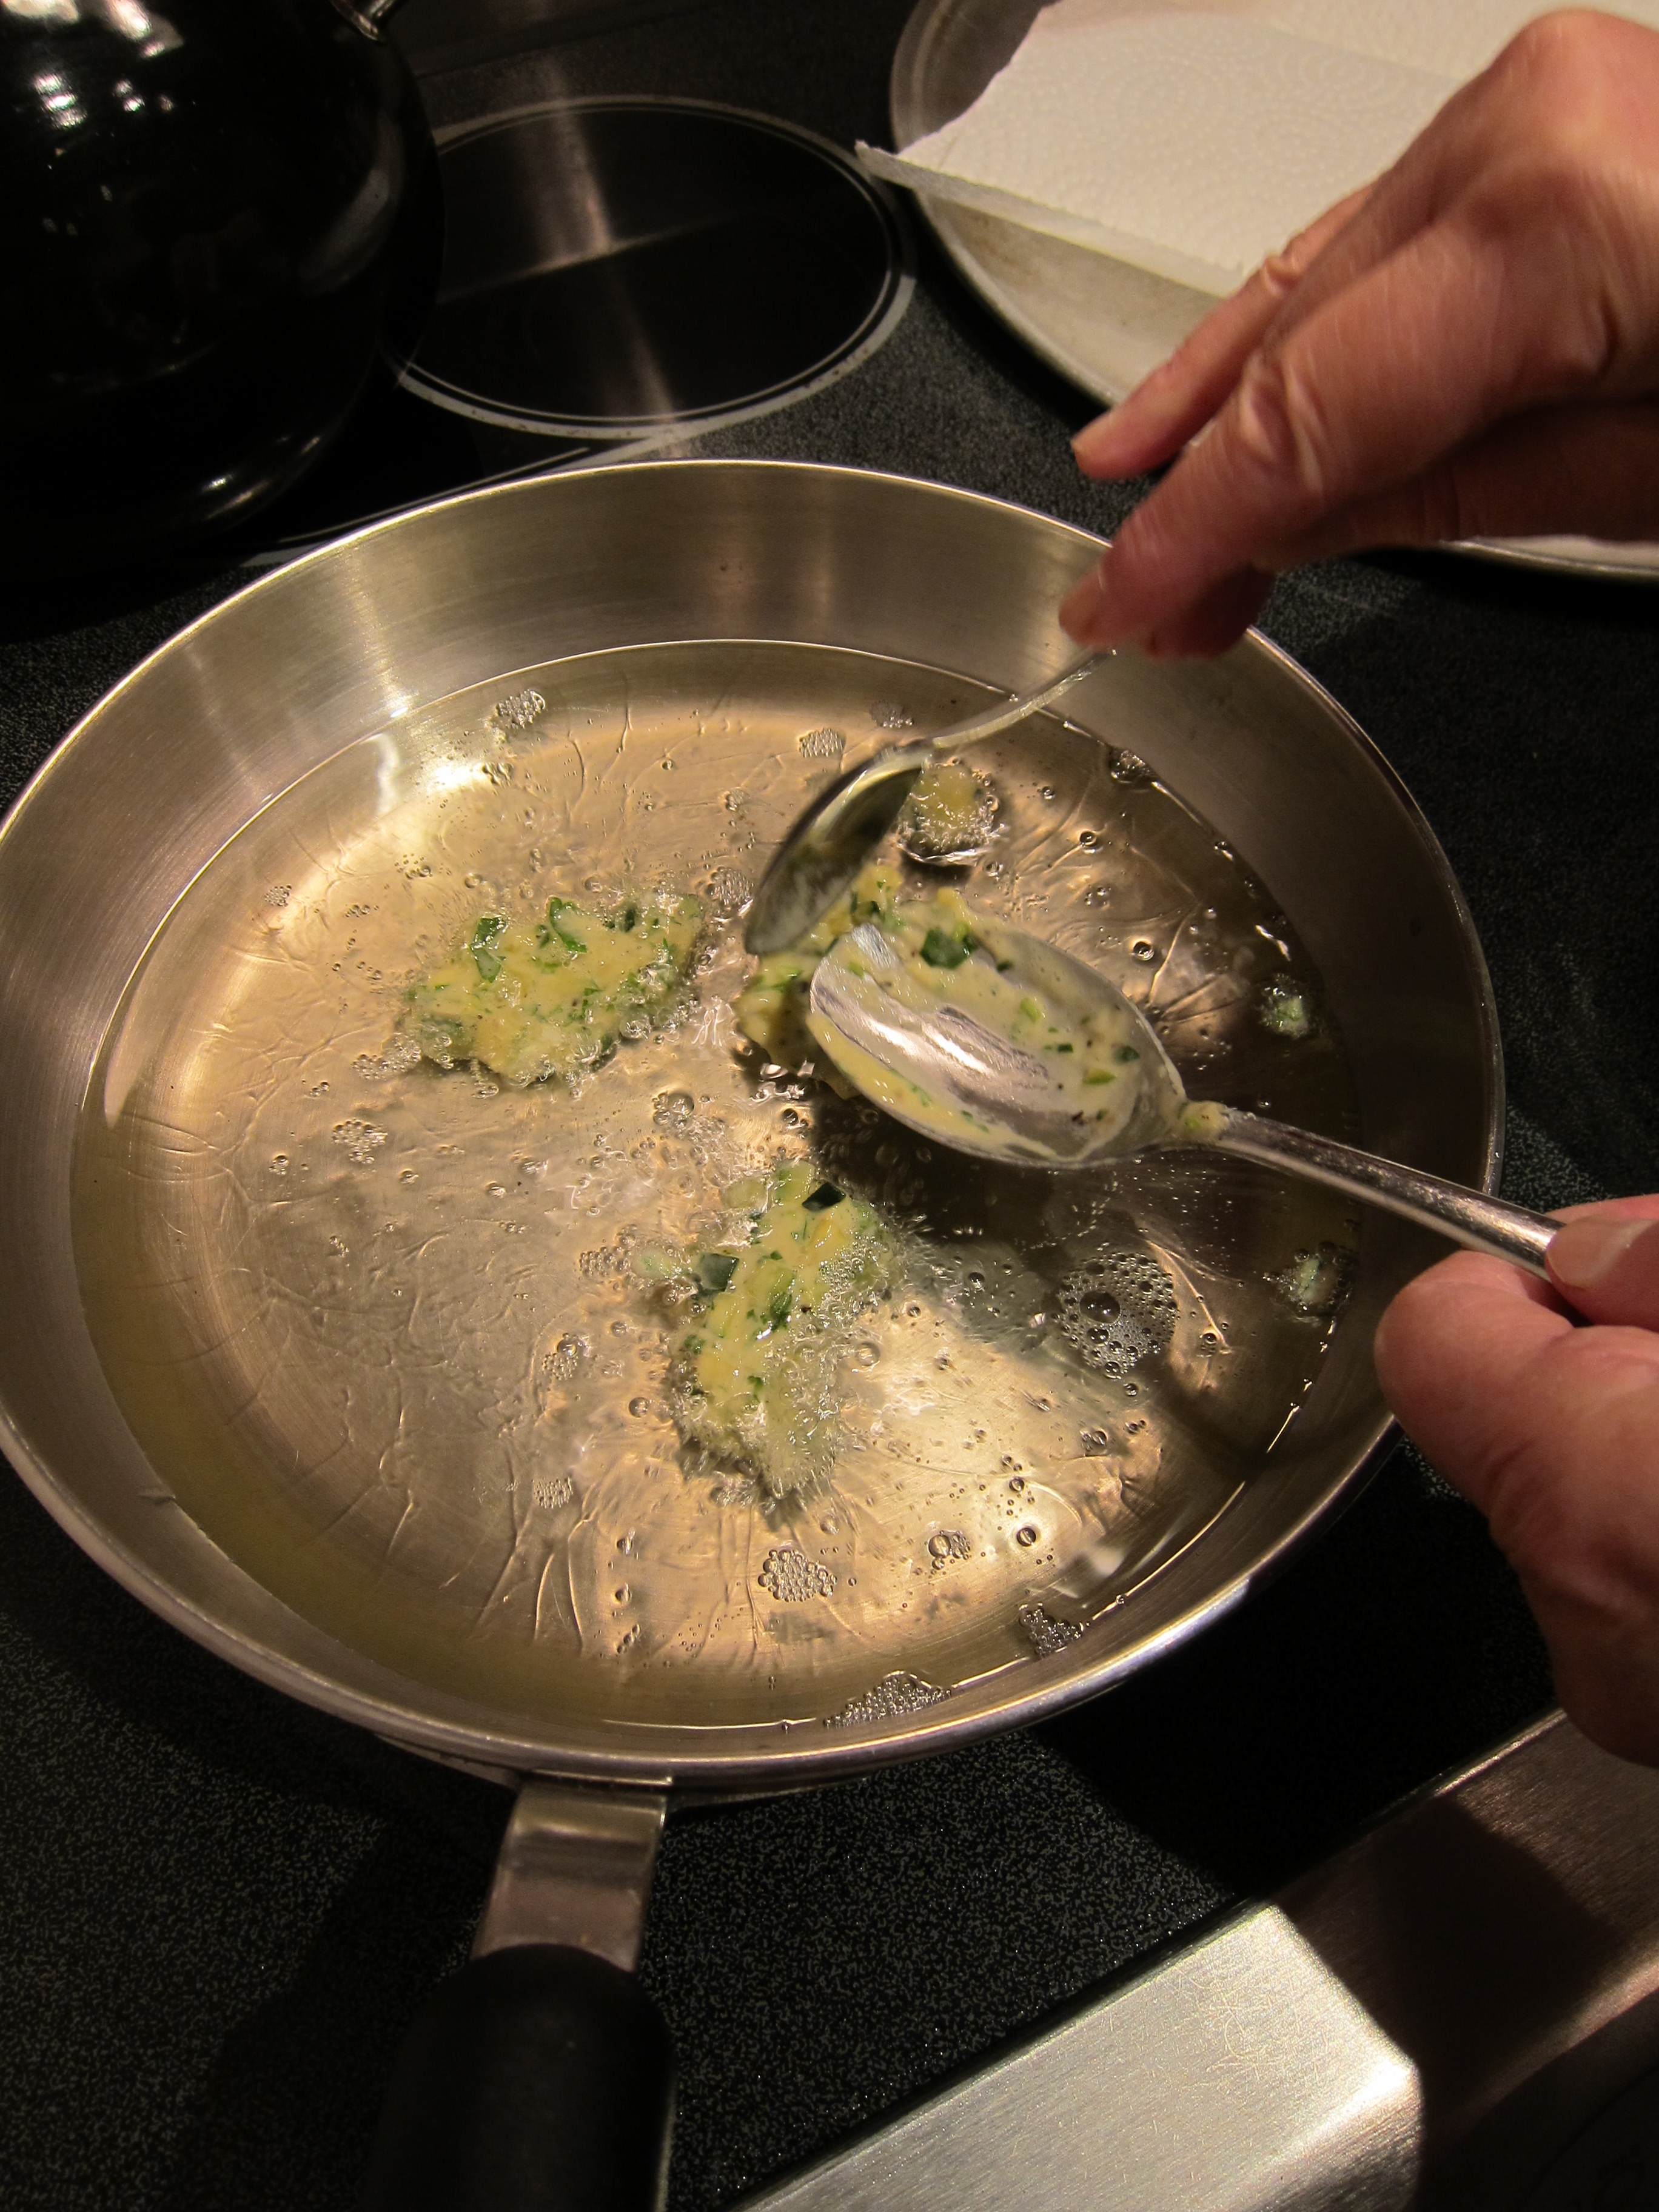
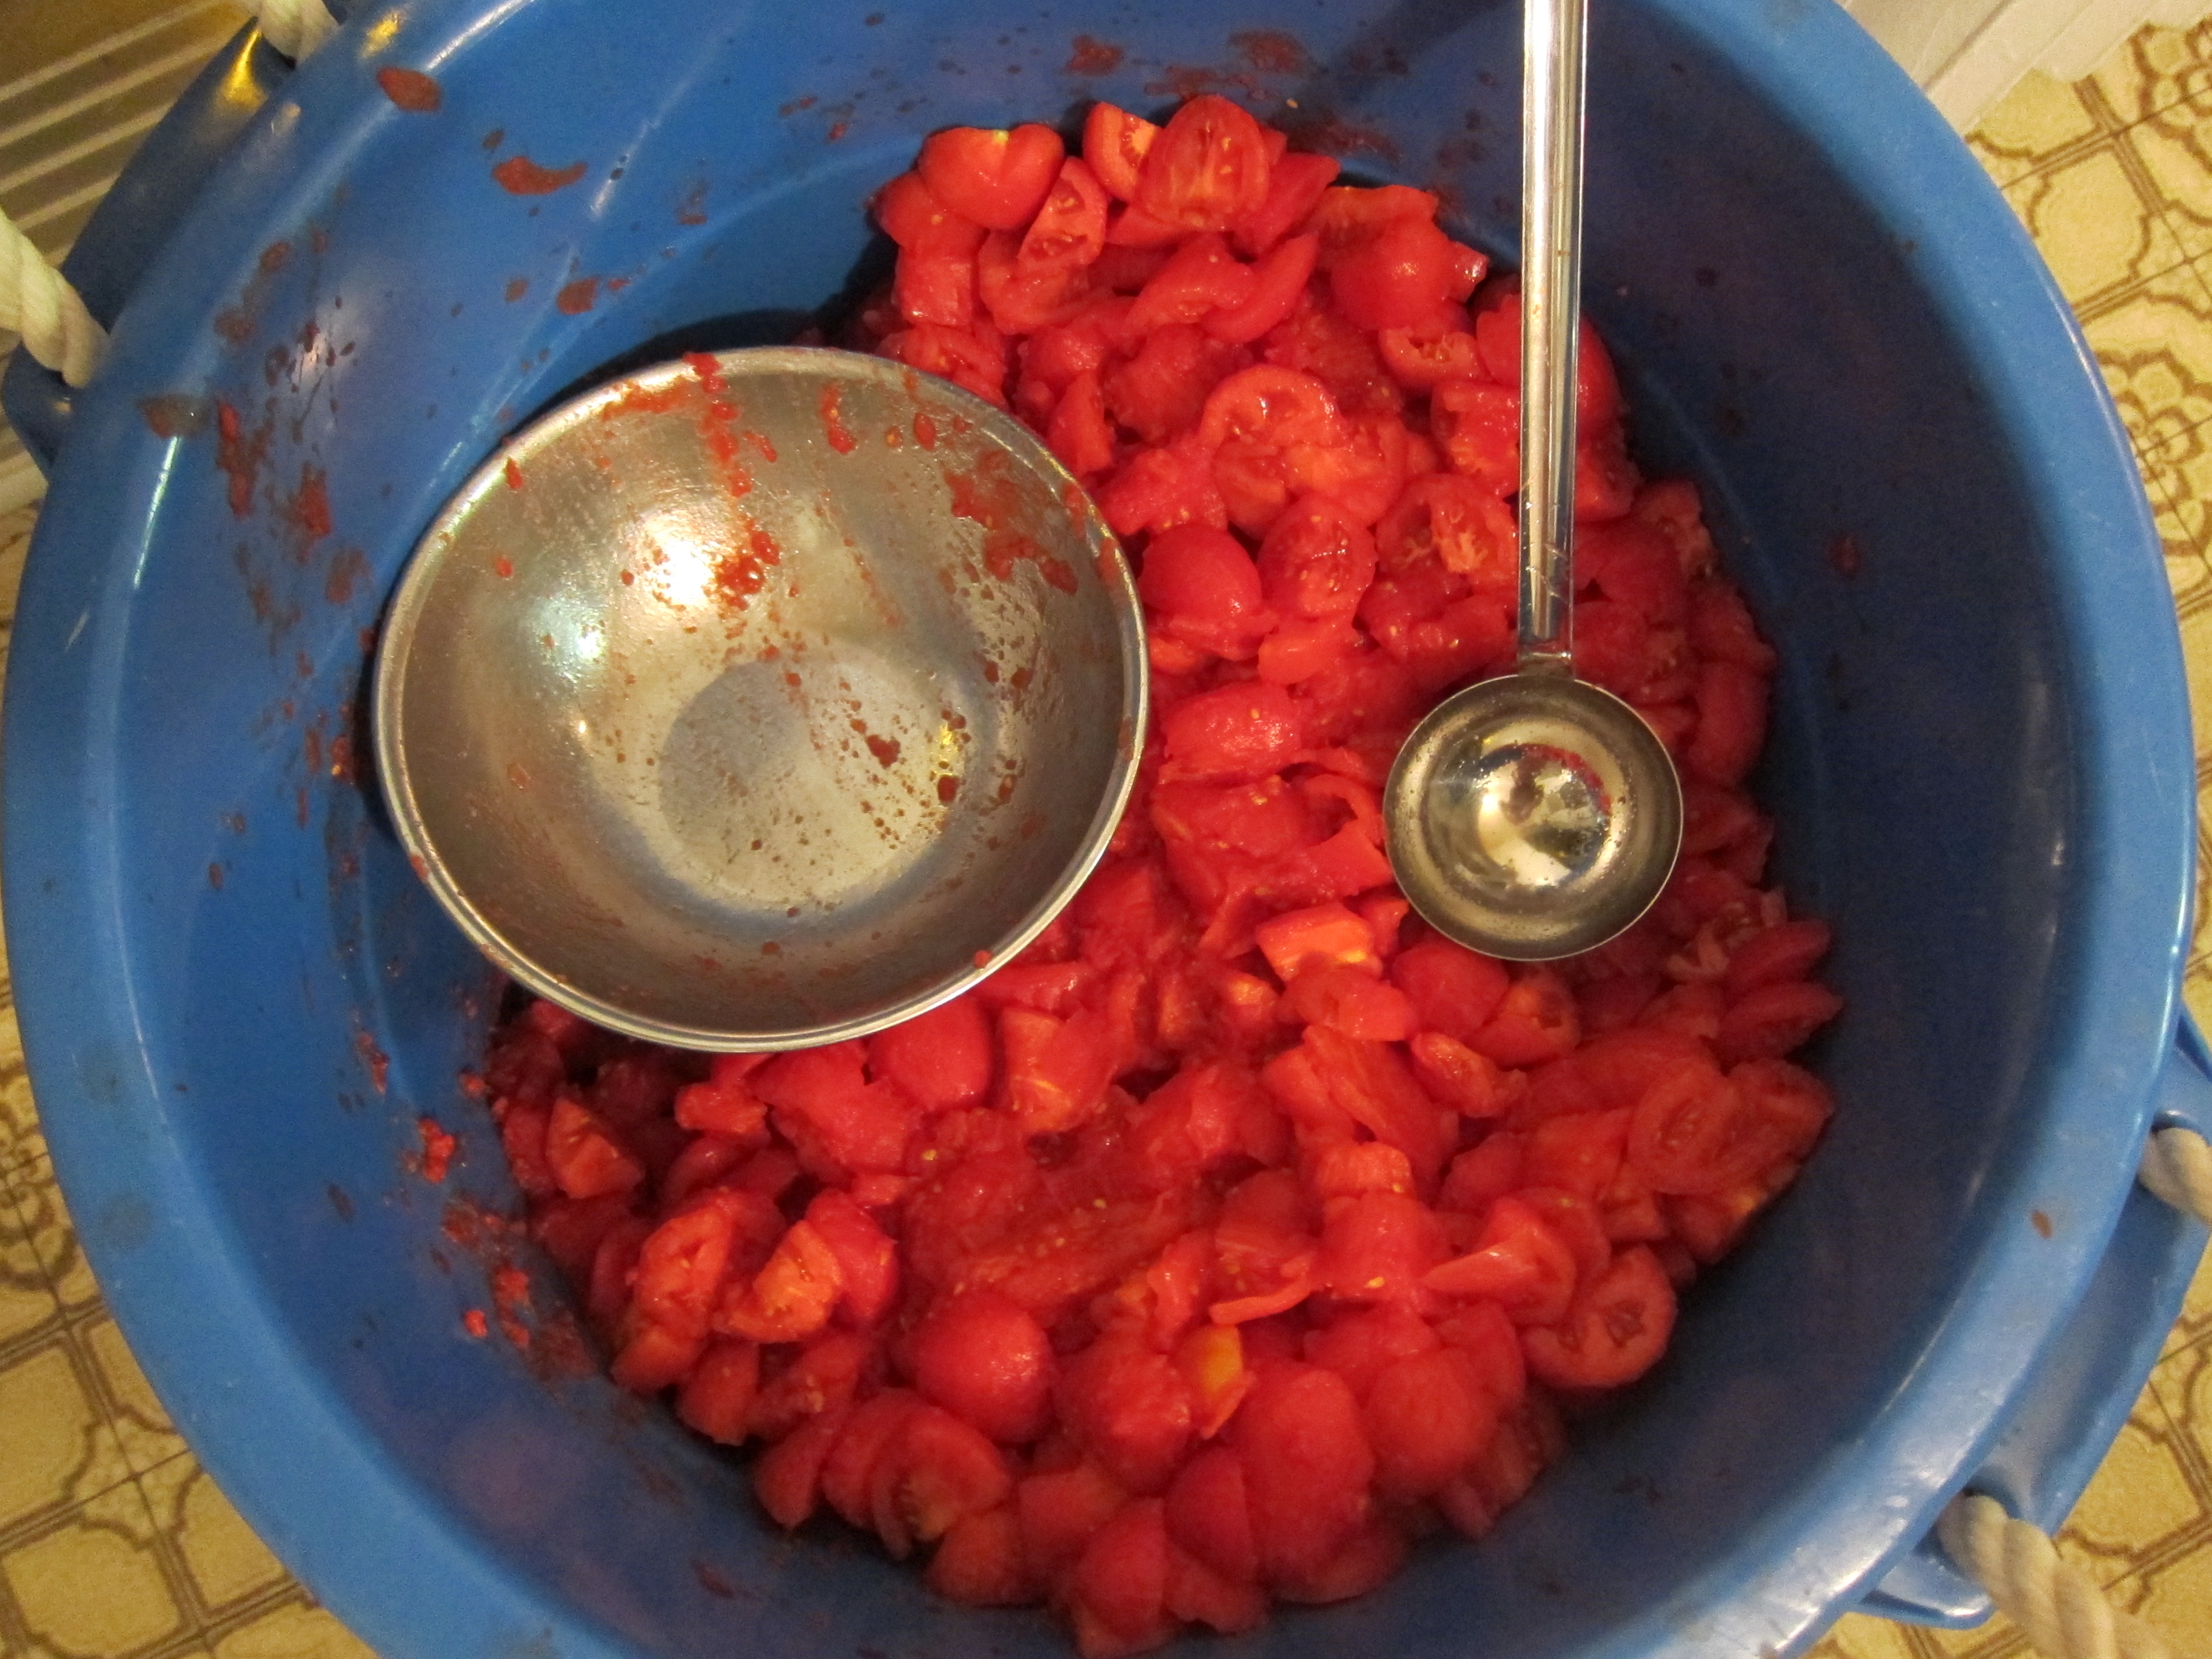
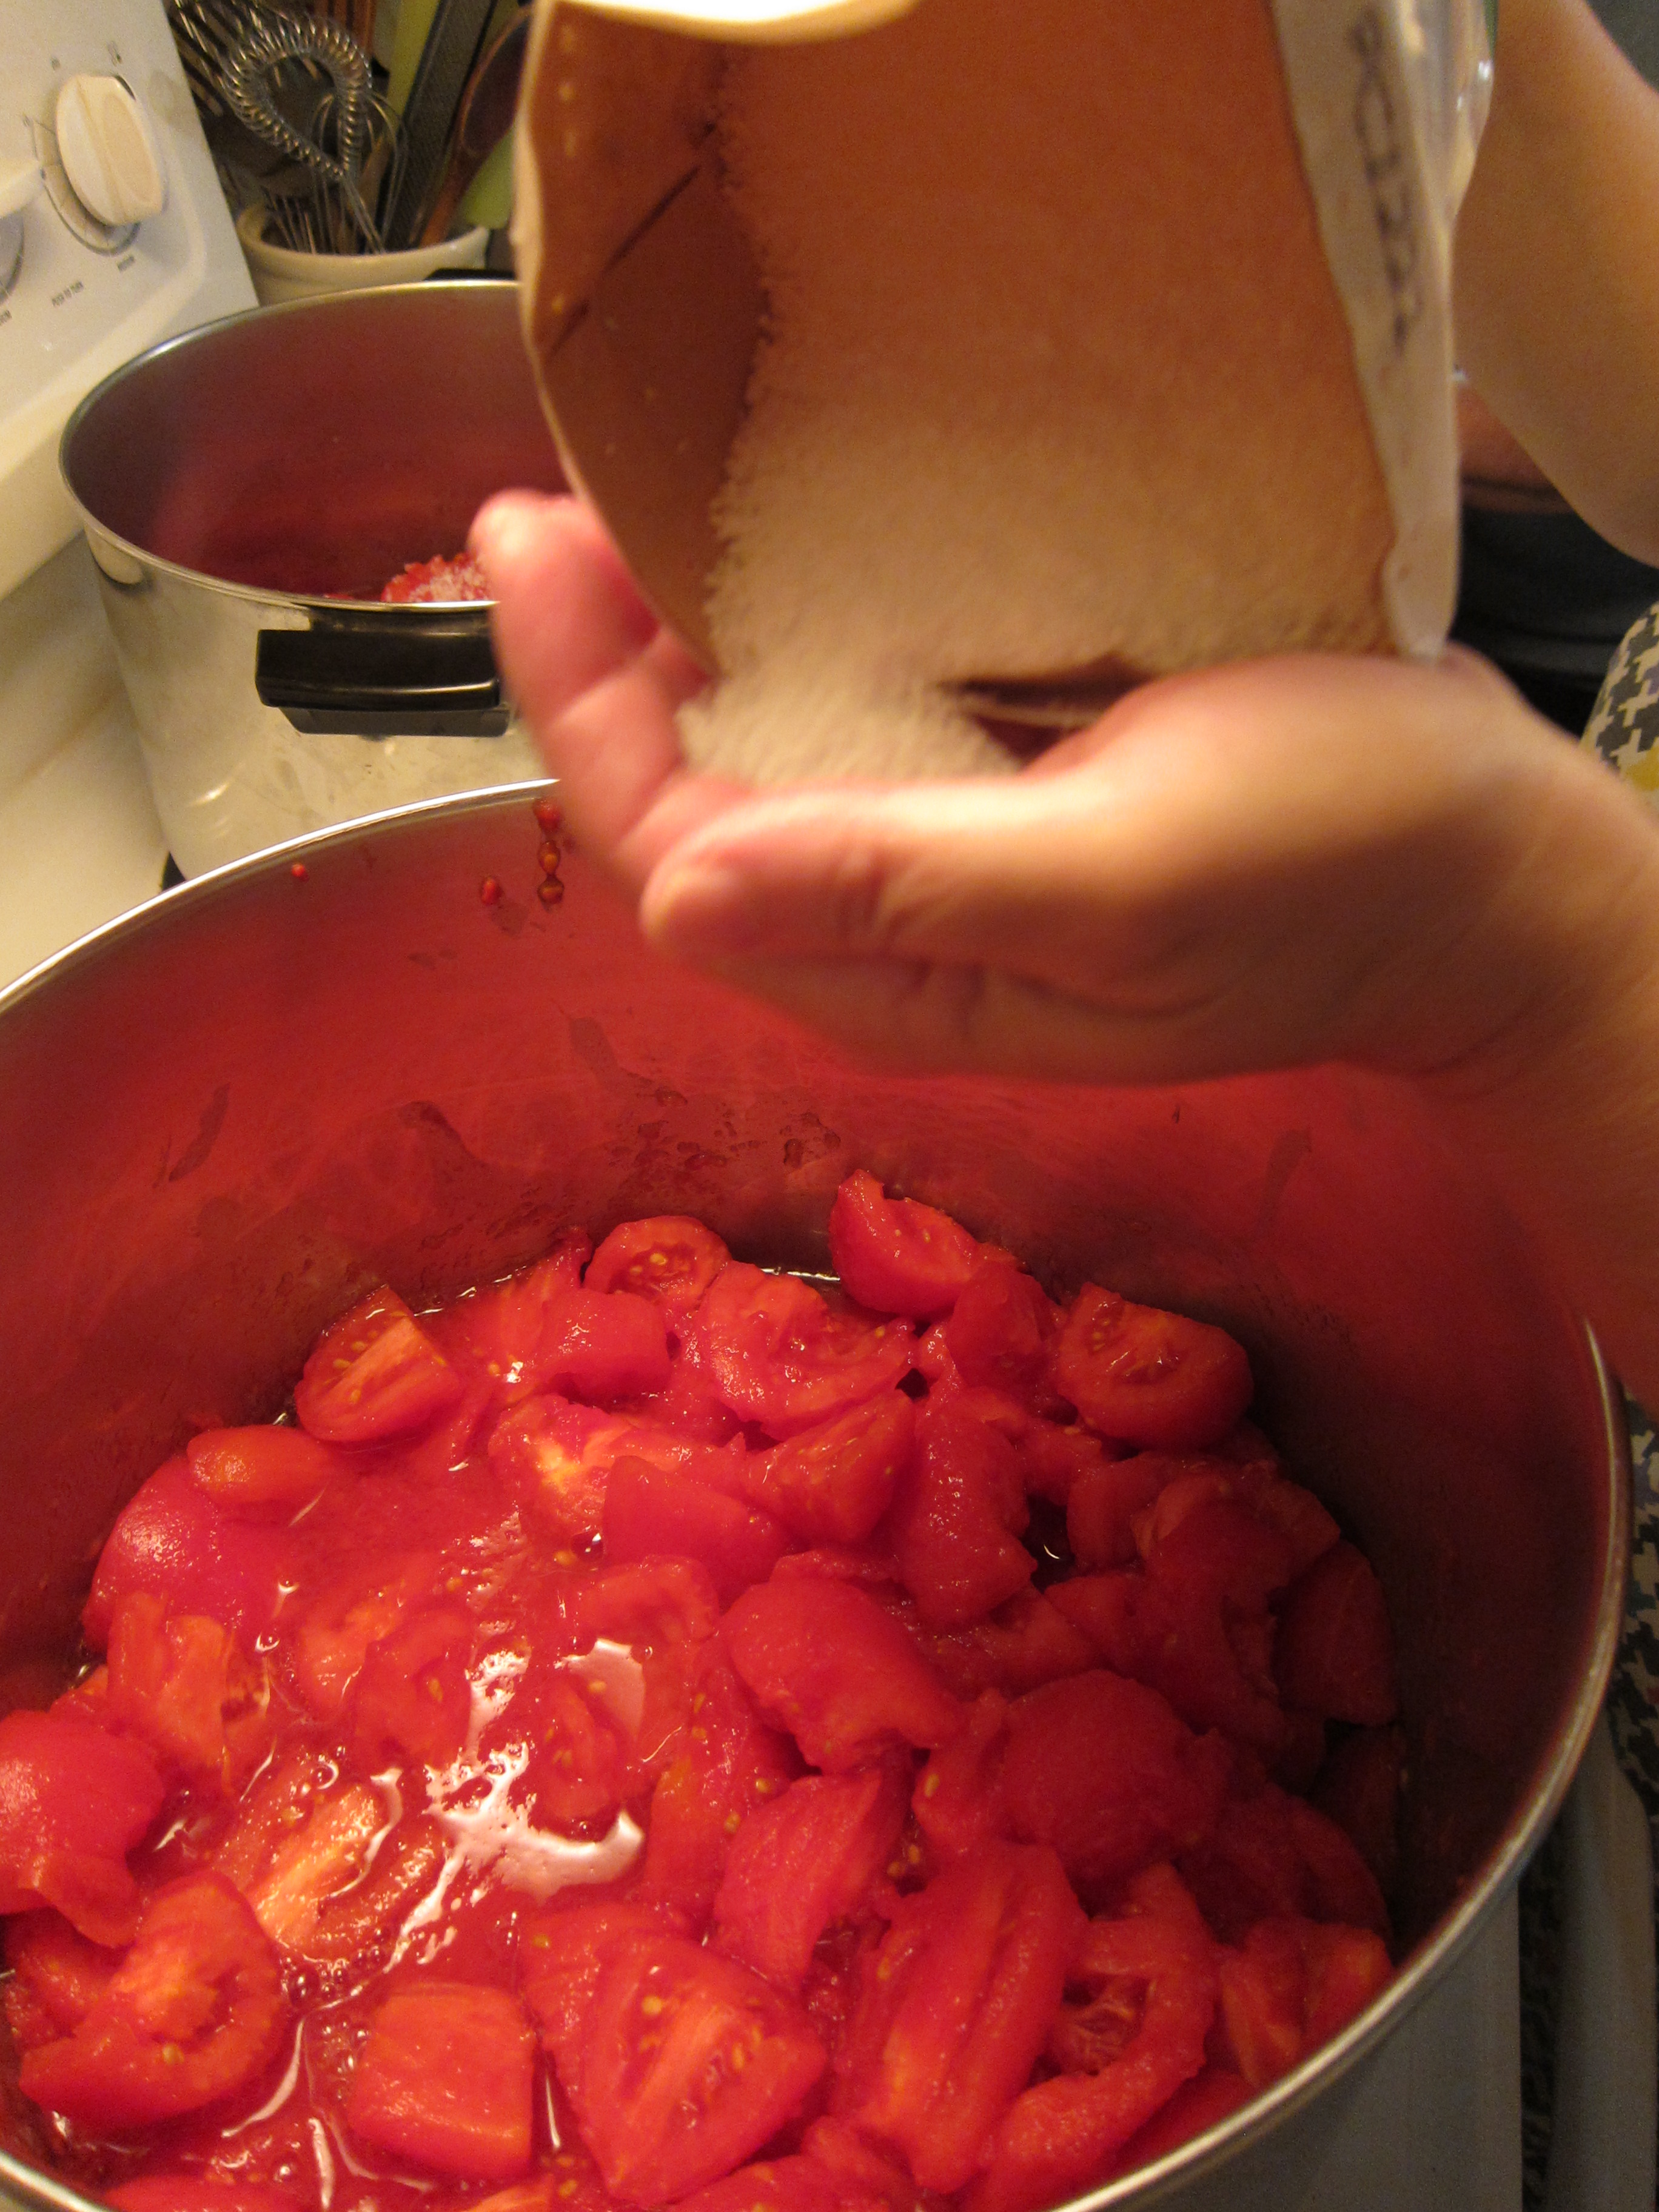
5) Transfer meat to a large bowl, then add seasonings. At this point, you may want to cook a small meatball to test for seasoning.

6) Place a wet casing onto the nozzle and roll it up gently so that the entire casing is scrunched up against the base of the nozzle. Grind the meat again, so it emerges from the nozzle into the casing, wiggling the casing gently away from the nozzle as it fills. Wait for someone to make the first inappropriate joke about the way this all looks.

7) Periodically, tie the casing to make links. Lay out on a cookie sheet lined with parchment paper to chill or transfer directly to freezer bags.

This slideshow requires JavaScript.

Share this:

  • Tweet
  • Share on Tumblr

Like this:

Like Loading...

End-of-week trainwreck

24 Friday Feb 2012

Posted by julia chews the fat in Lunch & Dinner, The Basics

≈ 3 Comments

Is it just me or is everyone a little rough around the edges these days? Maybe it’s because we’re at the tail-end of winter and everyone’s just fed up – it’s been grey and wet and for the better part of the week, the snow has been covered in that pre-spring lacquer of muck typical of a winter hanging on for dear life. It’s a soul-sucking time of year and I’m convinced that we’re all taking it out on each other. It’s been a week of being elbowed on the sidewalk and being cut in line; a week of innumerable public transit failures and a record-breaking number of newspaper-to-the-face moments, courtesy of fellow subway commuters. In the last few days, I’ve been sneezed on and shoved, and unintentionally groped on the bus (usually by elderly women and children, whose balance on moving vehicles is so-so). Last night while in bed, I had the pleasure of listening to an upstairs neighbour’s wrathful phone rant. Nothing like the sound of a stranger’s rising blood-pressure to help lull you to sleep.

The fact that we’re halfway to an expected 20cm of snow will undoubtedly increase everyone’s murderous tendencies, which is why I’m taking cover – at home, with pleasant things to keep me occupied.

Which brings me to…

RISOTTO.

It’s one of those perfect dishes that can smooth over any prickly week. The technique is simple, it just requires a little time and a little love.

And who knows – maybe the repetitive stirring will help you achieve that perfect catatonic state you’ve so desperately needed.

Asparagus Risotto with Lemon (serves 4)

  • 1 litre chicken stock (home-made is always better)
  • 1 1/2 cups Arborio rice
  • 1 small leek, finely chopped
  • 1/2 pack of asparagus, chopped – stalks and tips separated
  • 1/2 cup parmigiano reggiano (+ a bit for serving)
  • 1 wine glass of dry vermouth (or white wine)
  • 2 knobs of butter
  • 1tbsp olive oil
  • zest of 1/2 lemon
  • sea salt to taste

Heat the stock in a saucepan. Heat one knob of butter and the oil in a separate saucepan on medium-high heat. Once the butter and oil get a bit frothy, add the leek and cook until softened (don’t let it brown). Stir in the chopped asparagus stalks. Add the rice and give it good stir with a wooden spoon, ensuring that each kernel gets a good coating of fat*. Toast the rice for about 1 minute and then add the vermouth. Don’t be alarmed by the fantastic sizzle that will come from the pan.

Cook briefly, just until the vermouth has cooked into the rice. Add a ladleful of hot stock** and a pinch of salt. Stir lovingly and turn down the heat to medium-low. Continue adding ladlefuls of stock, waiting for each addition of stock to be absorbed into the rice before adding the next. About 12 minutes into cooking, add the asparagus tips (the “spear” part of the asparagus) and allow to cook for a couple of minutes.

At about the 15-minute mark, taste the rice to see if it is cooked. Like pasta, il should be al dente – not hard in the center, but not mushy either. If you run out of stock before the rice is cooked, don’t panic – just boil some water and add it a bit at a time like the stock.

Once the rice is cooked, remove from the heat and add the 2nd knob of butter. Taste again for salt. Grate lemon zest & parmigiano over risotto before serving.

*this step is what helps the rice stay firm and toothsome

**hot stock is key – cold stock will cool down your risotto for no good reason and will result in a hard, uncooked kernel.

Improvised baked salmon (serves 2-4 depending on the size of the filets)

  • 2 salmon fillets
  • 1 small shallot (échalotte), sliced
  • a couple of sundried tomatoes (in oil), sliced
  • a couple of lemon slices
  • fresh tarragon
  • olive oil
  • sea salt & pepper to taste

Preheat oven to 350°F. Place salmon skin-side down in a baking dish. Top with shallot, sundried tomatoes, tarragon, lemon slices, salt and pepper. Drizzle some olive oil on top. Bake for approximately 10 minutes, taking care not to overcook. The general rule of thumb is 8 minutes of cooking for each inch of thickness. Fatty fish like salmon is better when the outside is opaque but the center is still slightly translucent.

Share this:

  • Tweet
  • Share on Tumblr

Like this:

Like Loading...

Zucchini puffs

20 Monday Feb 2012

Posted by julia chews the fat in Cooking with Nonna, Vegetarian

≈ 3 Comments

Italians love their zucchini. Fried, steamed, stuffed – you name it. They’ve found savvy ways of transforming this standard (and virtually flavourless) squash into a variety of dishes, both savoury and sweet. The zucchini puff, mind you, remains a bit of an enigma. I’ve never seen it on a menu or in a cookbook. Not once in my 6-week stay in Italy did I come across one. And if you try looking it up on the Internet, you’ll often stumble upon an Americanized version that looks like a potato latke suffering from an identity crisis.

The zucchini puffs that Nonna makes are light and pillowy and charmingly goofy-looking. The ultimate in minimalist cooking, they are made by mixing a handful of ingredients to make a batter, which is then fried in batches. They can be served hot or cold and while they are generally eaten as an antipasti, can very easily become part of the breakfast rotation.

As this is your standard no-nonsense recipe, it involves few ingredients and requires barely any kitchen gear. Your best friend right now will be a small, sharp paring knife. It will allow you to cut and trim and dice rather efficiently, and if you’re feeling extra dexterous, could even eliminate the use of a cutting board. Your second-best friend will be a potato ricer. If you don’t already have one, I highly recommend taking a trip to your local kitchen supply store and getting one. They are ace.

You will need:

  • 4 eggs
  • 4 cloves of garlic
  • 4 small zucchini (skin on = more vitamins)
  • 1 cup flour + 1/2 teaspoon baking powder
  • 1/4 cup finely chopped parsley
  • 1 tsp salt
  • 1/4 tsp pepper
  • canola oil for frying

You will need to do the following:

Slice zucchini length-wise to make “lingue” (“tongues”)
Julienne the slices

Dice the julienned slices
Put diced zucchini into a bowl and add the salt; mix and let sit for a few minutes

Chop the garlic
Chop a handful of fresh Italian parsley

Reserve the tips of the parsley and use them to add character to your homemade stock
One spoonful at a time, fill the potato ricer with the salted zucchini

Squeeze! No need to be gentle here – you want to extract as much water as possible
Return the zucchini to the bowl and add the chopped garlic and parsley

Crack the eggs into the mixture
Add the flour, baking powder, and pepper to the batter

Mix with a fork to combine
Spoon batter into oil that has been heated in a heavy-set pan (to check oil temp: if the batter sizzles and puffs up, the oil is good to go).

Fry batter in batches, flipping once and removing from the pan once golden brown
Lay hot zucchini puffs on a couple of paper towels to absorb excess oil. Eat at least one or two piping hot.

*Note: these can be made ahead and re-heated in the oven at 375°F.

Share this:

  • Tweet
  • Share on Tumblr

Like this:

Like Loading...

V-day:

14 Tuesday Feb 2012

Posted by julia chews the fat in Cooking For Your Peeps

≈ 6 Comments

I am a sucker for Valentine’s Day. Attached, single, whatever – I love all the ridiculously sappy bits that come along with it. The tackier the better. Growing up, our mom used to go bananas for holidays (she still does) and Valentine’s Day was no exception. The details are bit fuzzy, but I remember there being lots of mini-heart confetti and cinnamon candies strewn all over the dinner table and bright red cloth napkins – folded accordion-style – atop each plate. There was even one year when she, my cousin, and I wore bright red lipstick to dinner along with big crêpe-paper corsages. We probably looked like a bunch of clowns, but when you grow up in a family of nerds, you don’t really notice those details.

We haven’t had one of those V-Day blow-outs in quite a while, but the sentiment has always stayed with me. Thinking back to those kitschy Valentine’s Days orchestrated by mom got me really jazzed about making mounds of pink frosting and heart-shaped cakes and cookies with shiny red sprinkles.

That, friends, was 4 days ago.

Now – on February 13th at 17 minutes past 9pm, having just arrived home, hungry, tired and achy – it’s fair to say the magical fairy dust of Valentine’s Day has lost much of its bewitching effect. The idea of buttering 2 dozen cupcake tins and facing a kitchen full of dirty dishes is not making me feel the least bit romantic. But I’ve stocked up on icing sugar and sprinkles and so I’d better make a go of it. Mom would have.

…skip to 1 hour and 42 minutes later…

So, allow me to share with you a very special rule of thumb when making the decision to bake something from scratch: never, ever, under any circumstances take on the task if you are tired, stressed, cranky, dehydrated or just generally irritable. Those feelings will inevitably find their way into your baking and wreak havoc. They have a way of attracting chaos and will hypnotize you into breaking things and injuring your extremities. Case in point: my attempt at making late-night cupcakes included one busted electric beater, 2 eggs less than required, an unruly oven and an uncooperative bag of sugar – all of which led to the demise of 48 tiny cupcakes.

After struggling at first with ingredient issues, I managed to put together a decent batter. But the first batch of 24 were soon wrecked by a temperamental oven and were unceremoniously discarded. At this point, I hadn’t given up – knowing that I still had enough batter to make another 24. I placed them in the oven, watched them vigilantly as they baked and after having taken them out, removed each one carefully from the tin like they were new-born chicks. With abandonment issues. I iced them with care, dotting every single one with a cinnamon heart, and set them aside on a platter for their photo op. Not long after, this second batch dove (icing side first) onto the kitchen floor in what could only be described as a tragically successful suicide attempt. I threw in the towel after that.

The lesson: baking projects are best left for moments when you have the time, patience and love to put into them. Otherwise, you might end up spending a disconcerting amount of time cursing and scraping pink frosting off the floor (at times simultaneously). Next time, do yourself a favour – order a pizza, pour yourself some vino and call it a night.

Share this:

  • Tweet
  • Share on Tumblr

Like this:

Like Loading...

Oeuf Cocotte

10 Friday Feb 2012

Posted by julia chews the fat in Breakfast & Brunch, Cooking Solo, The Basics, Vegetarian

≈ 5 Comments

It’s not everyday that your health-practitioner offers you foodstuffs. Especially the home-grown kind. But it just so happens that my chiropractor has started keeping a few chickens in her backyard so, naturally, she’s become my no.1 egg supplier.

This, friends, is a very good thing.

One of her “girls” roaming the garden

There’s really nothing like a free-range egg – the yolks are generally thicker and darker and they just have this overall oumf about them. But free-range, organic eggs don’t come cheap and so I’m doubly grateful for the fortuitous circumstances that led me to getting my back fixed and getting free eggs.

This weekend, that small, mismatched batch in my fridge led to the recipe below. Aside from being super simple to put together, oeuf cocotte is arguably the lsweetest breakfast item you will ever lay your eyes on – one egg, baked in a ramekin with tangy crème fraîche, green onion, and a few diced vegetables. The ingredients you choose to include in your cocotte need not be the same every time – use whatever you have handy in the fridge that might go well with eggs. Pair it up with a little toast and a spicy Bloody Mary and you’re off to a very good day.

Oeuf  Cocotte

  • 1 egg
  • 1 tbsp crème fraîche (or fresh soft cheese, thick yogurt)
  • 1/4 of a green onion, sliced
  • small handful of diced vegetables, sautéed (zucchini, mushrooms, etc)
  • a few cherry tomatoes and/or sundried tomatoes
  • small knob of butter
  • a small handful of grated cheese
  • a smattering of fresh herbs (basil, cilantro, tarragon, parsley…preferably not all together)
  • one ramequin
  • one small ceramic, oven proof dish

Preheat your oven to 430°F. Rub the butter along the bottom and sides of ramekin. Lay your veg at the bottom, add a dollop of crème fraîche and then crack the egg on top. Season with salt and pepper. Sprinkle on the green onion and herbs. Finish with a layer of grated cheese.

Place the ramekin in a gratin dish and pour hot water into the dish until it reaches half-way up the sides of the ramekin. This is your bain-marie. Put in the oven for 10-12 minutes, depending on how oozy you like your eggs and serve with toast, etc.

blog 022

Share this:

  • Tweet
  • Share on Tumblr

Like this:

Like Loading...

Image

Tomato canning

07 Tuesday Feb 2012

My half-Italian upbringing has led me to believe that certain things are normal: buying an entire prosciutto, pitting 15 pounds of olives in one sitting, knowing all the nicknames of the numbers in Tombola and all the lyrics to “Volare”. Never having to use canned tomatoes from the supermarket is another one of those things that I’ve always accepted as normal; it’s only as I’ve gotten older that I’ve come to appreciate how special this is.

If you’ve tried your hand at tomato canning, you are well aware that it is a laborious endeavour – nothing glamorous here. But it’s dead simple and really rewarding. Our family does it around mid-September, when the tomatoes are at their very handsomest. One big batch (100 jars or so) will last us for the year.

If you decide to take this on as a project in the near future, here are a few steps to keep you in check:

Start with 2 bushels of San Marzano tomatoes.

Pick out the funny-looking ones and make jokes about how they look like people you know.

Blanch the tomatoes in boiling water for a couple of minutes.

Diligently remove the “occhi” (eyes) of each tomato and peel them with your favorite Nonna.

Reserve the peel. You will use it later.

Halve each tomato, then cut into thirds.

Dump tomato chunks into the biggest (sterilized) vat you can find.

Press the reserved peel through a grinder to make tomato paste (alternately, use your hands to squeeze the peel and extract the leftover pulp). I have no idea where you would buy this device in Canada. All I know is that this one came from someone named Pina in Italy and cost 5000 lira (about 5 bucks). Obviously it’s old – the price was given to me in lira.

Add the tomato paste to your big vat of tomatoes.

Find the biggest & deepest stove-top saucepan you have. Fill it with tomatoes, leaving about 2 inches from the top. Add a good handful of coarse salt.

Stir them lovingly. The rules of stirring resemble the 101 of relationships: don’t be neglectful (they will stick to the bottom), but don’t be too clingy (they won’t reach the right temperature). Either extreme will compel your tomatoes to cheat on you with your best friend.

Once the tomatoes have reached a boil, let them go for about 10 minutes. Be sure to stir every so often (see “the rules of stirring”).

Prepare your army of sterilized jars & lids.

Check to make sure there are no leftover water droplets from the sterilization process. You want dry jars.

Add a few leaves of fresh basil to each jar. Every second or third jar, take in a deep breath. You’ll remember why basil is so rad.

When discussing how much basil to add to the jars with Nonna, remember that no matter what, she is always right. Using Italian gestures to reinforce your point will not help.

Get your jars near a sink & prepare one with a funnel.

Carefully ladle hot tomato mixture into each jar, leaving some space at the top.

Quickly screw on each lid. Not too tight though – screw band down evenly and firmly, just until resistance is met (“fingertip tight”).

Always keep a glass of vino handy for when things get a little tense in the kitchen.

Find old blankets or towels to line the boxes in which you will put your finished jars. You may run into old items such as sheets you turned into protest banners. Use them – they will make Nonna laugh.

Place finished jars in your blanket/towel-lined boxes. Move to an area that will not experience severe fluctuations in temperature. You want these babies cooling down slowly.

Pour a drink for you & Nonna. You’re done.

***Note: months after this was originally posted, I took a workshop offered by a former pastry chef, turned entrepreneur/canner-extraordinaire who instructed us to process the jars after they were filled, as you would do when making pickles and jams (i.e putting them in a pot of simmering water and allowing them to boil for 30-40 minutes). Though our family has never done this (and no one has ever died, or been sick from botulism), it’s an option that you may choose to incorporate in your canning project. Search the web for more detailed info.

Share this:

  • Tweet
  • Share on Tumblr

Like this:

Like Loading...

Posted by julia chews the fat | Filed under Cooking with Nonna, The Basics, Vegetarian

≈ 8 Comments

They all have to start somewhere

01 Wednesday Feb 2012

Posted by julia chews the fat in Intro

≈ 4 Comments

Beginnings can be a little nerve-racking. Even when there’s not a whole lot a stake. There’s something oddly intimidating about a blank piece of paper, even in its virtual incarnation. Remember in grade school art class, when the teacher would hand out white sheets of paper and tell you to draw something? There were always the kids who would dive right in – whipping their crayons back and forth with an enviable amount of reckless abandon. I was the kid who would sit and stare at the paper, my palms getting sweaty with the thought of how to begin.

I say this, dear reader, as a caveat to this blog. I am by no means good with blank pieces of paper. But I love food. I’m the nerd who has a knack for remembering obscure food facts and the girl who gets a kick out of planning dinner at breakfast. The first thing I’ll notice in your house is your cookbooks. And yes, I have been known to develop crushes on cast-iron pans. And for these reasons, I hope that this speck in the virtual universe of food-bloggery becomes a space where I can indulge this harmless (albeit all-consuming) obsession whole-heartedly – approaching the blank piece of paper with reckless abandon, as it were.

J x

Share this:

  • Tweet
  • Share on Tumblr

Like this:

Like Loading...

Facebook

Facebook

Instagram

No Instagram images were found.

Recent Posts

  • Layers and Rows
  • Finding Buoyancy
  • February
  • Wednesday
  • Cross My Heart, Miso

Archives

  • May 2017
  • April 2017
  • February 2017
  • December 2016
  • November 2016
  • September 2016
  • August 2016
  • July 2016
  • June 2016
  • May 2016
  • April 2016
  • March 2016
  • February 2016
  • January 2016
  • December 2015
  • November 2015
  • October 2015
  • September 2015
  • August 2015
  • July 2015
  • June 2015
  • May 2015
  • April 2015
  • March 2015
  • February 2015
  • January 2015
  • December 2014
  • November 2014
  • October 2014
  • September 2014
  • August 2014
  • July 2014
  • June 2014
  • May 2014
  • April 2014
  • March 2014
  • February 2014
  • January 2014
  • December 2013
  • October 2013
  • September 2013
  • August 2013
  • July 2013
  • June 2013
  • May 2013
  • April 2013
  • March 2013
  • February 2013
  • January 2013
  • December 2012
  • November 2012
  • October 2012
  • September 2012
  • August 2012
  • July 2012
  • June 2012
  • May 2012
  • April 2012
  • March 2012
  • February 2012

Categories

  • Beverage
  • Breakfast & Brunch
  • Condiments
  • Cooking For Your Peeps
  • Cooking Solo
  • Cooking with Nonna
  • Food Away From Home
  • Food Writing
  • Holidays
  • Intro
  • Lunch & Dinner
  • Snacking
  • Soups
  • Sweet Tooth
  • The Basics
  • Vegetarian

Enter your email address to follow this blog and receive notifications of new posts by email.

Join 80 other followers

Blog at WordPress.com.

Cancel
%d bloggers like this: